Missions Made Easy: Eliminate Devastators in Helldivers 2 and Take Down the Big Boys for Democracy!
The Automaton's Devastators can be quite a handful to Helldiver squads that don't know where and how to hit them. That's where we come in!

Among the finer aspects of Helldivers 2 – and a major reason for its popularity – are its varied enemy types that offer up a lot of challenges for the titular Helldivers to overcome. There is a lot to learn and adapt to between the bug-like Terminids and the murderous Automatons, giving players a reason to keep diving back into Arrowhead Studios’ latest hit.
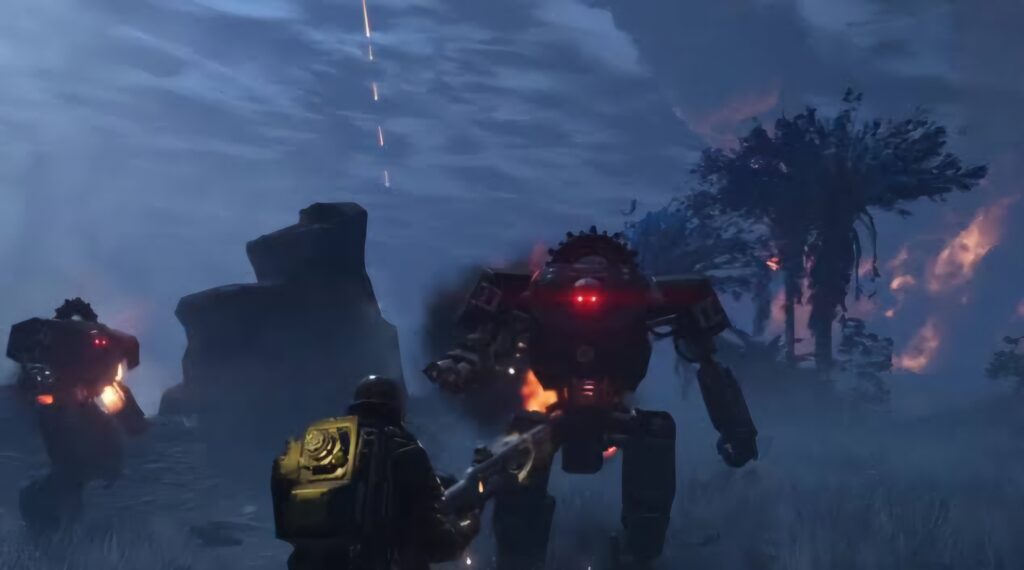
While some enemies are fairly easy to take down, some others require a bit of skill, precision, and a coordinated effort between members of your squad. The Devastators are one such adversary, adding layers of nuance to Automaton squadrons and presenting your squad with a threat that cannot be taken lightly.
These Mean Machines Live Up to Their Name

Bearing a strong resemblance to the Terminators from Warhammer 40k, these heavily armored bots generally bolster the Automaton ranks with their vicious attacks and powerful weapons. They come in three variants with differing load-outs, making them hard to gauge in a firefight unless you know what to look out for.
SUGGESTED: How to Defeat Gunships in Helldivers 2 Guide
The Devastators could be part of squadrons on the ground or come in as reinforcement from Dropships. What’s more, Factory Striders manufacture them on the fly when you are fighting them as support which can cause a lot of complications for your squad while you’re on missions. Fortunately, they do have a few weaknesses for you to exploit to turn the odds in your favor. Let’s get started!
Missions Made Easy: How to Eliminate Devastators in Helldivers 2
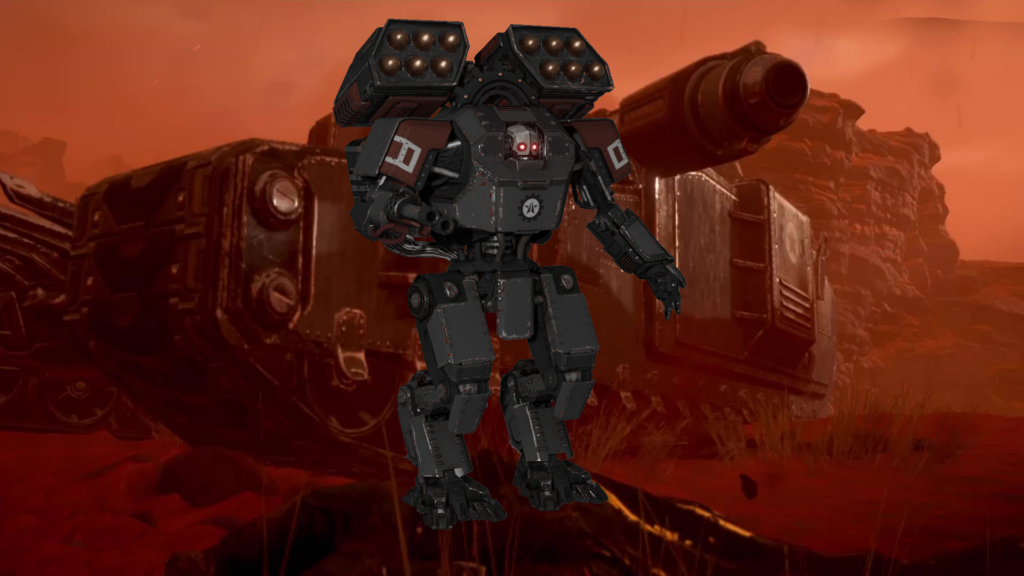
Firstly, it can be very handy to know the kind of Devastator you’re up against when you encounter them in the field. Standard Devastators come with Cannons equipped to their arms that can cause some serious damage if you’re not careful about dodging their attacks. The Heavy Devastator is easily recognizable based on its machine guns and shield while Rocket Devastators have shoulder-mounted rocket launchers.
SUGGESTED: Missions Made Easy: Destroy Command Bunkers in Helldivers 2 Will Never Trouble You Again
The Devastators can be tricky to take down if you don’t know where to hit them. While most of their body is heavily armored, their arms, head, and midsection are weak points that you can hit. In most cases, going for their arms first removes their ability to attack you from range, leaving them vulnerable in the field. The obvious exception here is the Rocket Devastator whose weapons are on their shoulders.
Standard Devastators are the easiest to take down, as most Primary Weapons can rip through their health bars as long as you consistently hit their weak spots. They are helpless to your onslaught once their arm cannons are taken out of the equation, allowing you to score a few headshots to take them down. Removing the arm on any Devastator exposes an additional weak spot on their side that you can hit for major damage.
The Heavy Devastators are a tad more difficult considering their shield. Removing their arm may disable their machine guns but they can still come at you with their shields for melee attacks. However, the same weaknesses that apply to the other types of Devastators apply here. Their shields are designed to allow them a clear line of sight for their guns which means that their head is exposed and a few headshots from Primary Weapons can easily take them down.
You could also use armor-piercing weapons like the Railgun to tear through their shields if you are so inclined. A few precise shots to their rear-mounter power cells can also be a great option if you can manage to get behind them. Impact Grenades can work wonders against them in tight situations although you may want to conserve those for tougher enemies later on in the mission.
The Rocket Devastators are where things get interesting. You should try to take out their unarmored rocket launchers as quickly as possible to ensure that their barrages do not instantly take you or your squad members out of the equation. The rockets they launch at you come with excellent tracking and knockback ability so make those a priority. This is especially important if there are more than one of them present on the battlefield. Divide them up between your squad in order to stay in the fight.
With their weaponry out of the way, they can then be taken down like the other variants. Explosive weapons and Stratagems like the Eagle Barrage and Autocannon are very effective against these giant killing machines as they can wipe them out before they have a chance to attack. If you get the chance for some stealthy recon, use the Devastator’s distinct audio cues to ascertain their position and use your Stratagems to take them out before they even know what hit them.
You are now ready to take on the Automaton’s Devastators and come out relatively unscathed, leaving you to carry on with your mission and fight for Democracy in Helldivers 2. For any other assistance you may need with various mission types or other enemies, look no further than our detailed guides to show you the best ways to go about things.