Missions Made Easy: Destroy Command Bunkers in Helldivers 2 Will Never Trouble You Again
The Command Bunkers are the deadliest Automaton POIs you can find in Helldivers 2 but can be taken down with a bit of skill, precision, coordination, and, of course, the right loadouts.

Taking the world by storm upon its release, Helldivers 2 has continued to be the first choice for fans of third-person shooters, combining a simple premise with frantic action and a bunch of cool weapons. With a gameplay loop that pits you and your squad against formidable enemies in the form of Terminids and Automatons, every mission is a desperate fight to save Democracy.
While the bug-like Terminids do pose a major challenge, the Automatons take things up a notch in their quest to eradicate every form of organic life they come across. This makes any fight against them personal, and you will need to put your best foot forward when trying to deal with their advanced weaponry and aggressive tactics.
The Mechanical Monstrosities of Super Earth
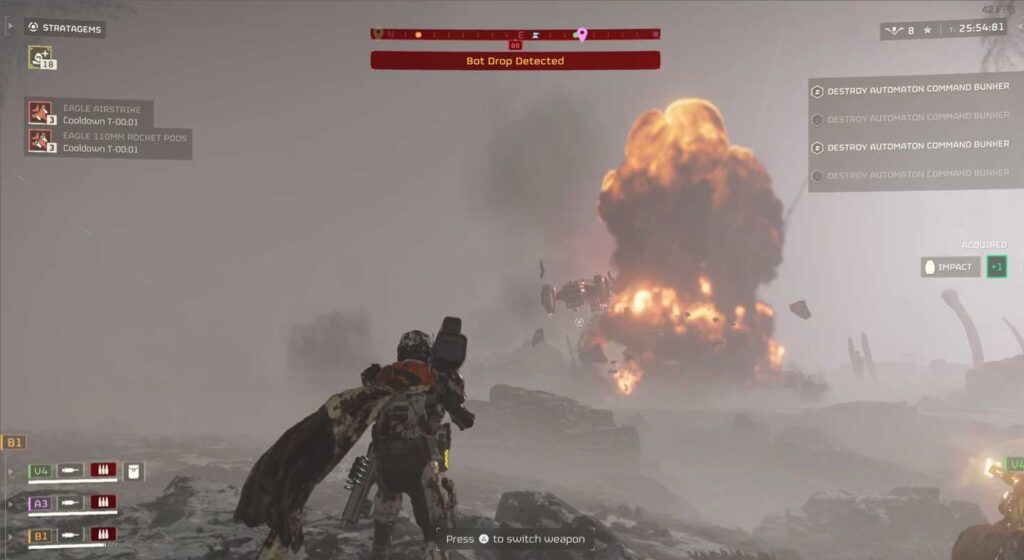
Fighting Automatons in Helldivers 2 needs a different approach in comparison to taking down Terminids. The Automatons bring a lot of firepower to any encounter with Gunships, Bot Fabricators, Tanks, Hulks, and Factory Striders among their ranks. They attack as a coordinated unit, often calling in reinforcements that they manufacture in real-time, making an endless stream of enemies to prevent you from achieving your goals on missions.
SUGGESTED: Helldivers 2’s Newest Meta is a Bug-Killing Beast
However, it is their Command Bunkers that pose the biggest threat to a squad of Helldivers. They are heavily fortified and come with some serious firepower at long range, making it hard to approach them while dealing with the many bots that they send out to wipe out your squad. However, with the right loadouts and a clear strategy in place, these fortified menaces can – and must – be taken down to further your cause.
Missions Made Easy: Destroy Command Bunkers in Helldivers 2 Will Never Trouble You Again
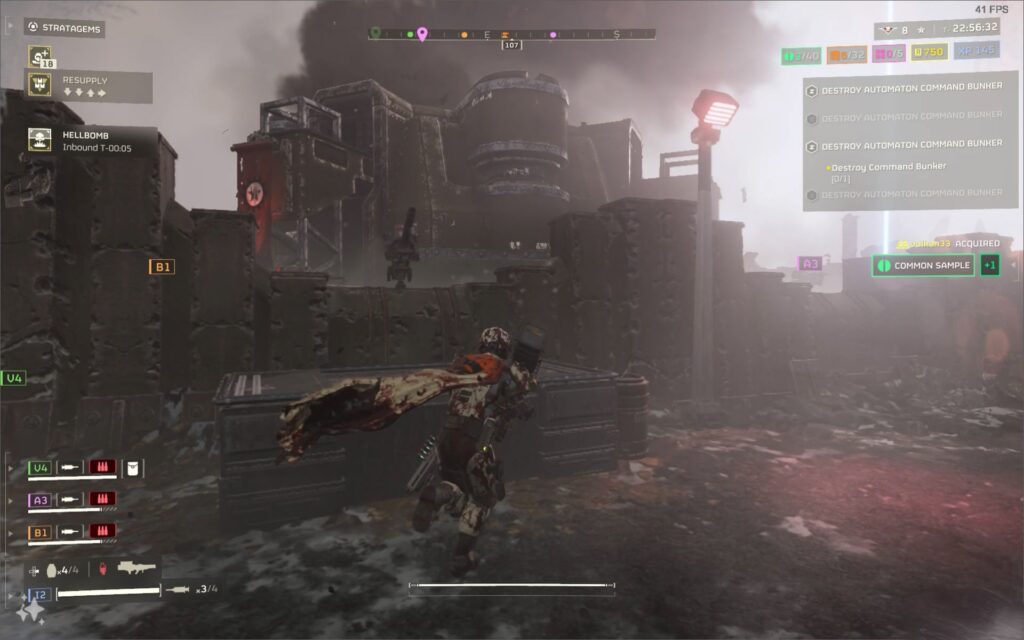
It’s important to know what a Command Bunker’s main defenses are in order to be effective at taking it down. To begin with, each Bunker only has a single point of entry at its front, with landmines deployed along the path to deter any intruders. There are bots on mounted machine guns to make things more difficult for your squad too. More machine guns are likely to be found on the Bunker’s walls once you make your way into it.
You are likely to find that Automaton Fabricators continuously spawn reinforcements that include lesser bots alongside some of the bigger Automatons, like the Factory Striders. It is necessary for one of your squad members to focus on taking them out of the equation in order to ensure that the rest of you can focus on the other major threats you will be facing.
SUGGESTED: How to Defeat Scout Striders in Helldivers 2
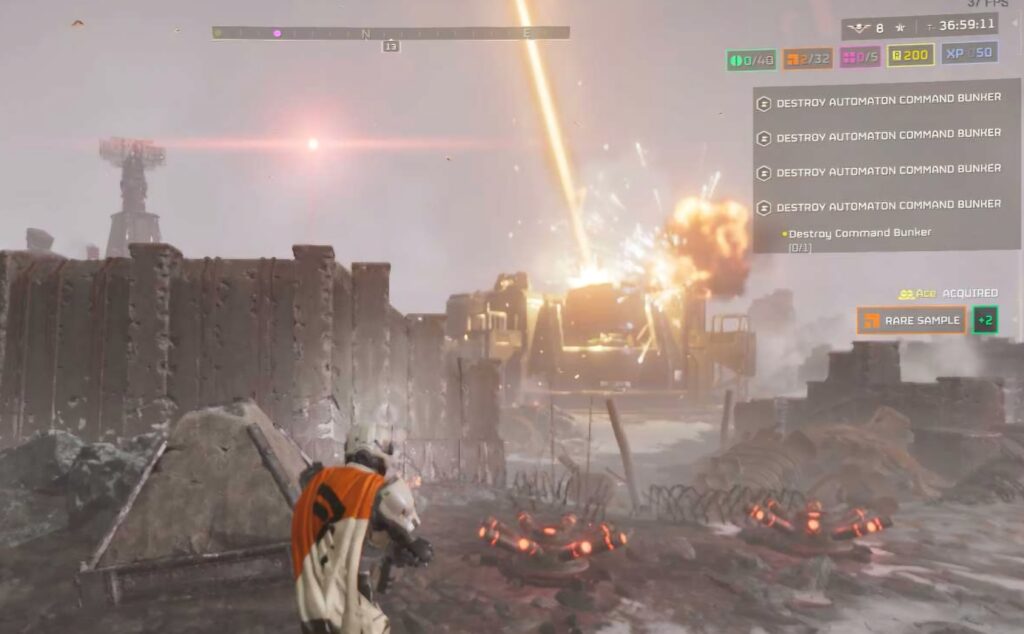
While these defenses are a major threat, it is the Command Bunker’s mounted plasma turrets that pose the biggest challenge to your squad. There are four of them at each Bunker, and they can easily one-shot any Helldiver unfortunate enough to be caught in their crosshairs. It can be a good idea for one of your squad members to carry the Stratagem you will need to destroy them and focus on taking them out while another deals with the Fabricators.
Now that we’ve covered the major defenses protecting a Command Bunker, it’s time to dive into how to take them out of the equation. Fortunately, this becomes a piece of cake with a little bit of practice. For starters, you will need to take out any Stratagem Jammers in the area to ensure that you get to call in your Stratagems without any problems.
Next, it’s a great idea to take out the plasma turrets first, as their range and sheer power can wipe out your squad in seconds. The LAS-99 Quasar Cannon is among the best choices of Stratagems to use in this regard. It can fire every seven seconds, which must be combined with good positioning to take out the plasma turrets in about 30 seconds, ensuring that your squad is able to stay in the fight long enough to take out the Command Bunker.
The Quasar Cannon also works very well against heavily armored enemies like Tanks and Factory Striders if you can manage to conserve a few charges, making your time at the Command Bunker a lot easier. However, a good alternative would be the Eagle 110MM Rocket Pods.
However, a better approach would be to prioritize the Automaton Fabricators at the Command Bunker after the plasma turrets in order to ensure that you don’t need to take on heavily armored enemies in the first place. Use any Stratagems that you normally would to achieve this, saving your more powerful ones for the Command Bunker and potential mobs of Automatons that threaten to overwhelm you.
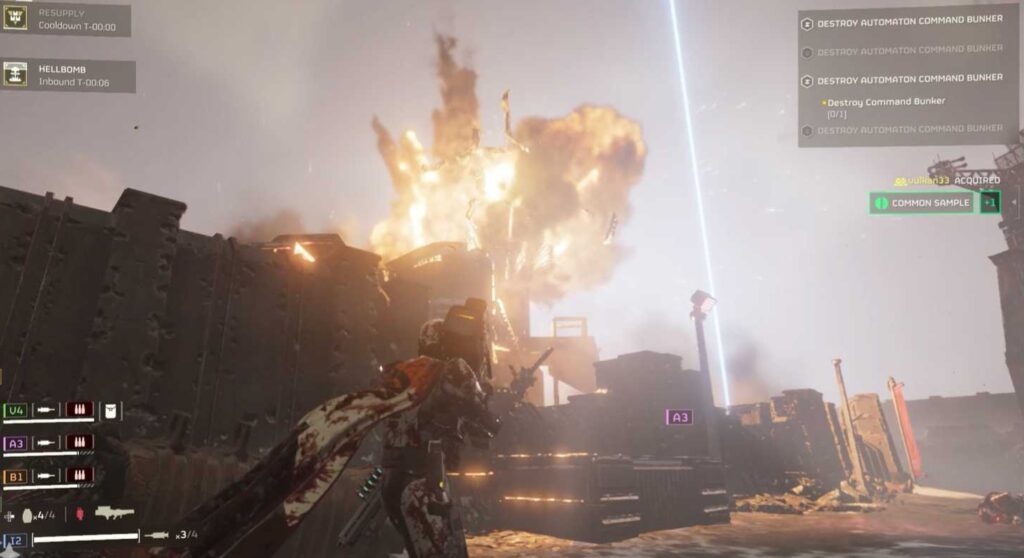
With the Jammers, plasma turrets, and Fabricators out of the way, it’s time to take out the Command Bunker itself. By this point, you have nearly taken out all of its defenses, leaving you with a lot of room to throw down Stratagems like the Orbital Laser as close as you safely can at the Bunker to take it out in one go. Save your three uses of this Stratagem exclusively for the Bunkers.
The Hellbomb is a great choice for any remaining Bunkers in the area, allowing you to complete your mission with ease and relative safety after systematically dismantling the Bunker’s many defenses. Additionally, Eagle Airstrikes can help you take out mounted machine gun turrets in one go if the need arises.
With this strategy, your squad could soon become the scourge of Automatons, handling everything they could possibly throw at you with ease. To learn more about how to improve your game and win more missions, our tips and tricks could show you new ways to deal with any threats in the field. For anything else you may need with Helldivers 2, let our dedicated guides point you in the right direction.