How to Open the Gate to Yokohama in Rise of the Ronin

After the explosive (and possibly harrowing) prologue in Rise of the Ronin, you find yourself tasked with getting to Yokohama, the first explorable area in Team Ninja’s stunning rendition of ancient Japan. With your Blade Twin’s fate unknown after your encounter with the Blue Demon, it seems that the city may hold some answers. However, getting inside the city may not be as easy as you were led to believe.
You Shall Not Pass!
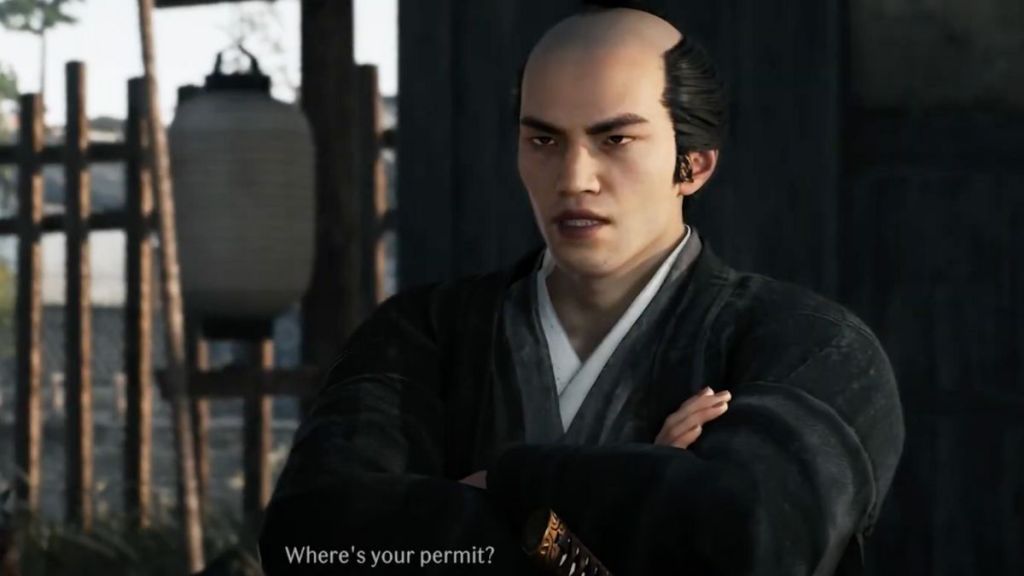
After dealing with your first Public Order mission and getting to the city outskirts, you find yourself at the city gate with a Veiled Edge Banner for you to activate. However, the guard at the gate isn’t impressed by your fearsome demeanor and dismissively tells you that you are going to need a permit to enter the city. He offers little to no guidance on how to get one, however, simply tells you to speak to the locals in a nearby village. How rude!
Head towards the southern gate and the village beyond it to find that it is overrun by bandits, leading you to your second Public Order event. There are seven enemies for you to defeat, and a lot of opportunity to channel your inner Sekiro if that sounds appealing to you. However, you choose to handle the threat, speak to the village chief after you have activated the next Veiled Edge Banner.
The Eccentric Samurai

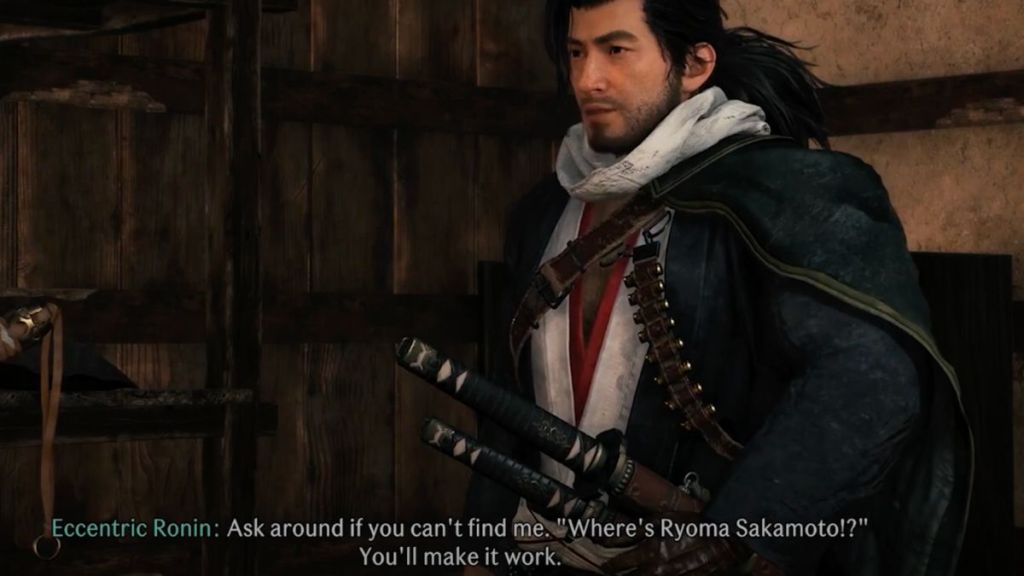
The chief tells you about bandits in a nearby cave. Head on over to the marker on your map to find that another Ronin has beat you to the chase but is being assailed by a bunch of enemies. Defeat them to trigger a rather cool cutscene, introducing your Ronin to Ryoma Sakomoto. He’s going to be an important part of your journey later on!
SUGGESTED: How to Complete The Men From Tosa (Bond Mission) in Rise of the Ronin?
The pair of you find that there are no permits to be found in the cave’s depths. Fortunately, Ryoma knows where the bandits may have moved to!
Cleaning House
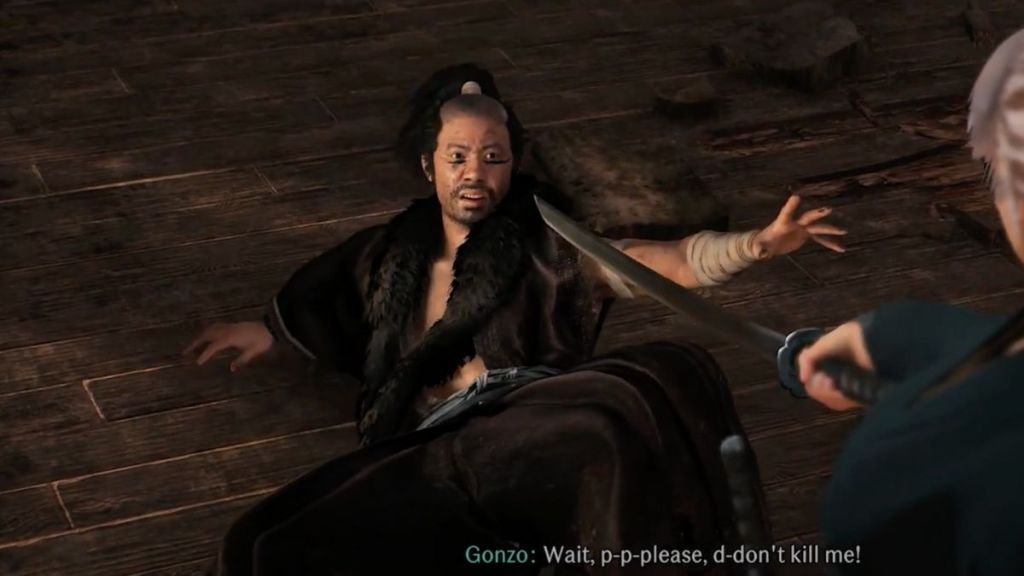
Follow Ryoma out of the cave to begin the Curtain Falls, Curtain Rises mission which sees the two of you explore a nearby mansion, carving your way through a fairly linear path until a boss encounters Gonzo, the bandits’ leader.
This could be a good time to learn about using different combat styles to deal with the weapon type an enemy is using. Keep Gonzo on his toes by switching between your Ronin and Ryoma, wearing down Gonzo’s Ki until you can manage a critical hit. You may find that while your Ronin does not have the combat style necessary to counter Gonzo’s massive odachi, Ryoma is well-equipped to do so.
SUGGESTED: Should You Kill or Spare Gonzo in Rise of the Ronin?
Once his health is fully depleted, you are presented with the choice to either kill or spare Gonzo. It is recommended that you spare him if you are interested in further exploring his backstory and unlocking a new combat style a little later down the line. Gonzo also unlocks as a companion for you to take along on future story missions too!
Either way, you are presented with the storehouse key. Follow Ryoma to the storehouse and loot the chest inside to obtain a permit for each of you and a prototype glider that lets you take to the skies and cover a lot of ground fairly easily.
Big City Life
At this point, Ryoma chooses to make his own way into the city, asking you to meet him by a clock tower. Exit the storehouse from the opposite end of where you came in to find a ledge that you can leap off, employing the glider to deftly land at the main city gates.
Present your permit to the guard and enter the city to begin your journey into Rise of the Ronin’s story, and fulfill your destiny!
Looking for more Rise of the Ronin guides? We’re here to help. Head on over to our exclusive guides section to learn more about Bond Missions, boss fights and so much more!