How to Defeat Tremortusk in Horizon Forbidden West

From the very beginning of the game Horizon Forbidden West makes it clear to players that the journey of Aloy is going to be much more challenging than they have encountered in the previous game. Action role-playing games generally take players to a vast alien world where the journey starts from zero. Horizon Forbidden West is no exception to that tradition. In the game’s open world, Aloy needs to survive using the available resources, and fighting gigantic machines. Unfortunately, Tremortusk is among the most challenging ones to fight.
Powerful enemies increase the thrill of action RPGs. Considering this fact, Guerrilla Games has featured multiple powerful machines in Horizon Forbidden West. Though some of them appear early, they are still tough to handle. Be prepared because the Tremortusk will be one of these enemies who appear early, but pose tons of challenges.
Naturally, the fight requires some help to figure out the strategies to take down the enemy. We will talk about that for sure, but before that, we will try to provide players with some basic information about the machine, including the location.
Horizon Forbidden West- Tremortusk Location and Basic Information

Machines are the biggest enemies in the game and from the beginning of the game, Aloy needs to tackle different types of machines to progress through the main story. The main story goes through different twists and turns and players need to complete missions to explore the mysteries hidden in the world. These missions eventually bring the boss fights.
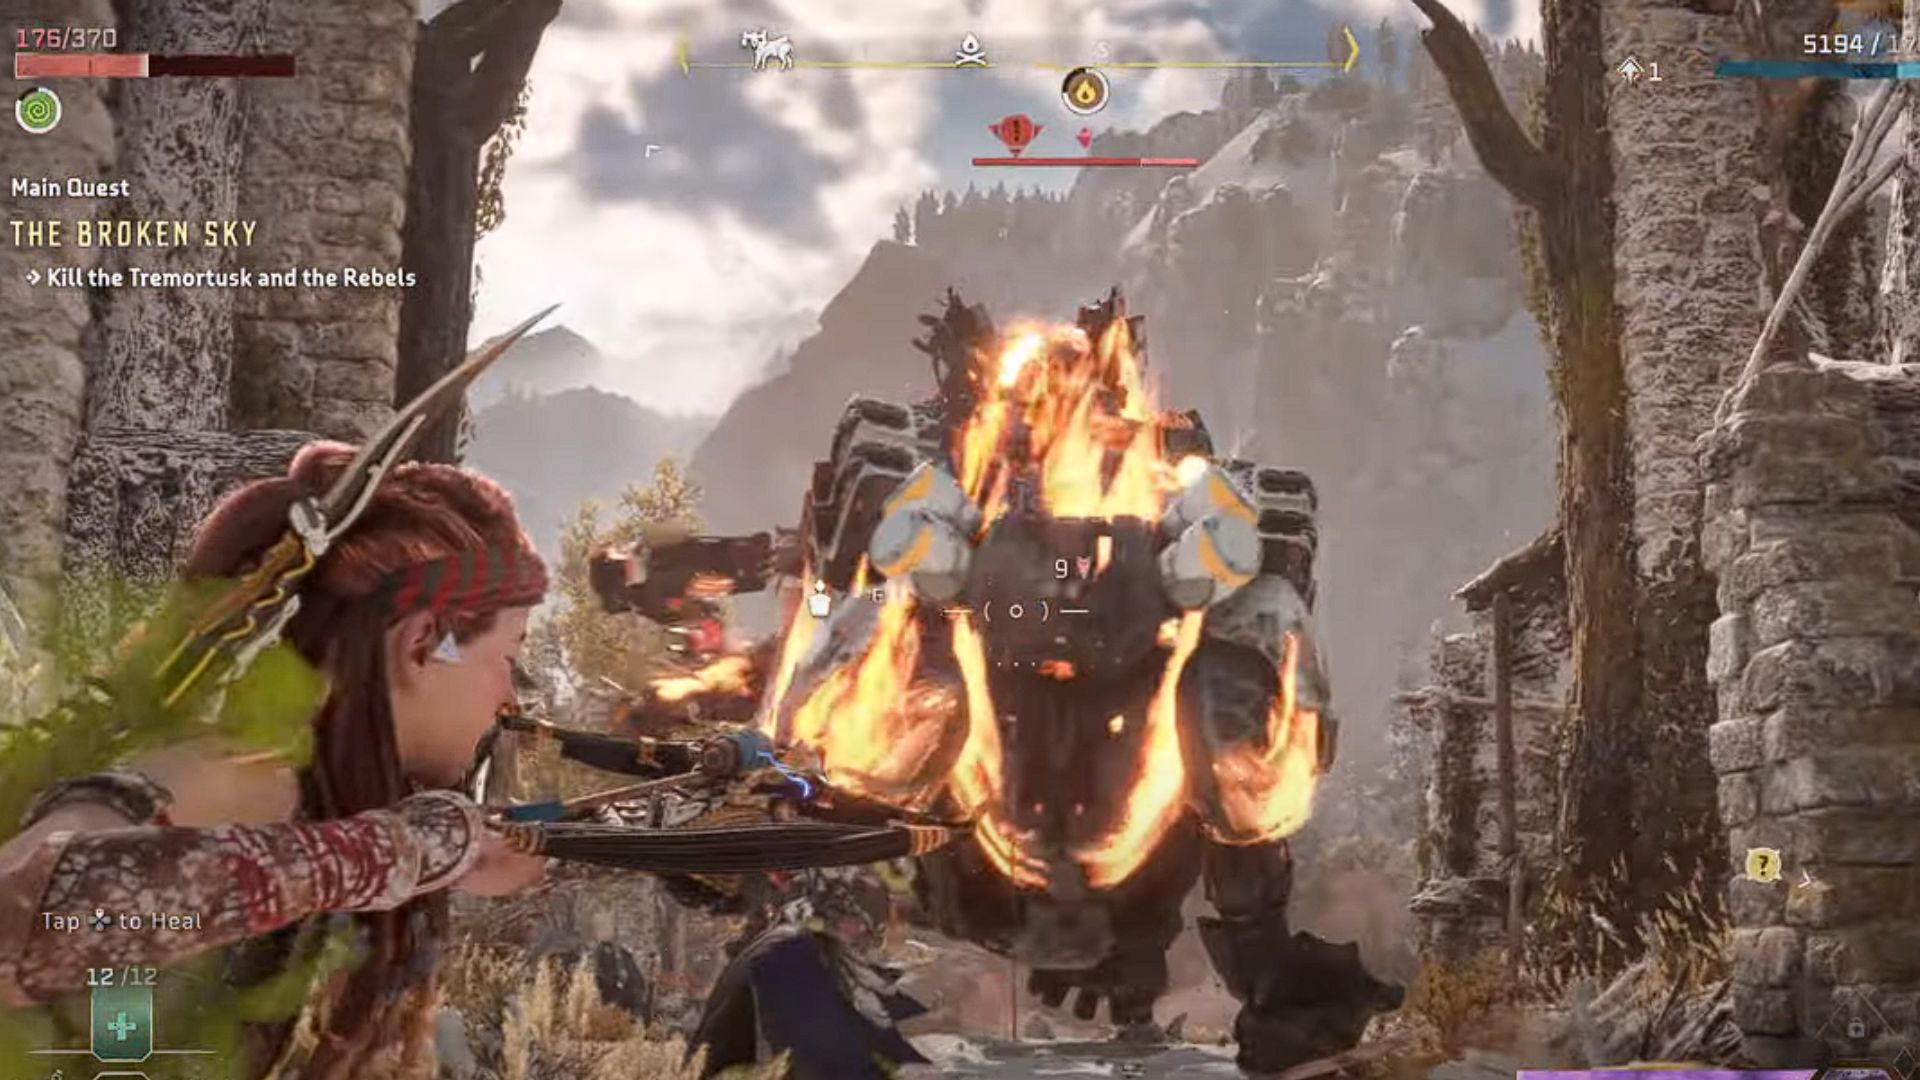
Once Aloy starts progressing through The Broken Sky main story quest, get prepared to meet the iconic mammoth-like machine Tremortusk. This quest, at one point, requires players to find a cannon to break the Bulwark’s wall. To do this task, Aloy and Kotallo must visit the location where they will find the boss. Defeating the Mammoth Machine is the only way to get the canon.
SUGGESTED: How to Climb the Shining Wastes Tallneck in Horizon Forbidden West
Before jumping into the fight, make sure to scan the machine to get some vital information. As a level 35 enemy, the Tremortusk is not going to be an easy one to deal with. Scanning the enemy will reveal that the machine is weak to Frost damage and strong to Fire damage. Additionally, make sure to stock up on health potions and ammo before initiating the battle. Bring a long-range Frost damage weapon like a Cleaving Sharpshot Bow or Frostbite Warrior Bow to deal with the machine.
Horizon Forbidden West- How to Defeat Tremortusk
As the fight begins, eventually players will understand that the boss is strong at ranged attacks. However, still, there’s no way you can stay close to him and deal melee damage. Therefore, despite the machine having lots of ranged attacks, Aloy has to stay away from it. Let’s not make things complicated and discuss things one by one. We will start with the attacks the boss deals with and how players need to protect themselves.
Tremortusk has canons on its back and it deals long-range cannon attacks like Plasma Cannon, Shock Cannon, and Salvo Cannon attacks. Players must be aware of these cannon attacks and dodge them whenever possible. However, the best thing to protect yourself is to take cover. It is an open battle arena where you will easily find boulders to hide. Whenever you get a chance try to sneak behind the boss and destroy the canons with Impact damage.
Apart from these, the Mammoth uses its Tusks to launch Tusk Sweeps. Once the machine starts sweeping its tusks, players need to dodge it before they get hit by it. However, the tricky part is this attack lasts for a few seconds, and the machine progresses forward while sweeping his tusks. In that case, dodging behind is not safe. Instead, dodge towards Tremortusk. This is not a close-range attack, and the machine won’t go backward during the attack.
The third attack of Tremortusk is the Electric Orb attack. The mammoth deals two types of shock damage, and the first one is the Electric Orb attack, in which the boss summons electric orbs on itself. Next, these orbs start following players. If you come within contact, you will get shock damage and be stunned for a few seconds, losing a chunk of your health. Players can start shooting the orbs the moment they appear.

The final attack that players need to watch out for during this fight is the Shock Waves. This is an AoE attack, in which the mammoth slams its two front legs on the ground, launching a shock wave that affects whoever comes within its range. Don’t get stressed. Dodging will help you stay safe. The moment you see the machine slamming its legs, start jumping backward and create the maximum distance possible.
Aside from the boss, the Rebels will also be there to fight with. They will attack Aloy and Kotallo simultaneously. So, you can either focus on clearing them out first and then focus on the boss, or you can let Kotallo deal with them while you take the boss down.
SUGGESTED: How to Reset and Respec Skills in Horizon Forbidden West
Now that we have discussed the attacks you need to watch out for and how to avoid them, it’s time to check how to attack the boss, especially the weak points. Initially, it seems that the gigantic elephant machine has no weakness at all, but that’s not true. Tremortusk has a weak point that players can easily target to deal damage. On the belly of the enemy, you will easily find a Blaze Sac.
That’s the vulnerable part of the machine that should be destroyed to weaken it and take it down eventually. Though the belly of the beast is pretty tough to attack, players still need to focus on attacking the Blaze Sac. It will explode and deal a large amount of damage to the Tremortusk. Apart from that, you can try attacking its tusks to deal the maximum damage possible.
That’s almost everything that can help you defeat Tremortusk in Horizon Forbidden West. The fight won’t be an easy one as the enemy will not let go of any opportunity to deal deadly damage to Aloy. Still, patience and strategy will help you reach your goal and have the final smile.