Bosses Be Gone: How to Defeat the Devoted Acolytes in Destiny 2’s The Final Shape
Zavala needs your help to deal with his grief.

Destiny 2’s latest expansion, The Final Shape, offers its players a thrilling conclusion to the game’s overarching narrative, bringing an end to the war between Light and Darkness. Your Guardian and their Ghost meet with new characters and old, working alongside them to deal with threats – and take down new and powerful enemies.
The Final Shape adds a lot of nuance and challenge to Destiny 2’s core gameplay loop and gives its players new weapons and gear to help adapt to what has changed from previous releases. However, new gear does not mean that players will have an easy time in the expansion’s new environments, as they will have to adjust their strategies according to the situation that has presented itself.
The Results of a Bittersweet Reunion

A good example of The Final Shape requiring its players to improvise and adapt to situations can be found in the sixth-story mission Dissent. After the events of Requiem, it seems that Zavala is unable to handle the devastation of his homeland. He subsequently vanishes, leaving the Guardian, his Ghost Targe, and a few others to go after him and prevent him from turning to the Darkness.
SUGGESTED: 5 Tips and Tricks to Make Destiny 2’s The Final Shape the Easiest Expansion
That’s easier said than done, as the game throws a whole lot of puzzles, obstacles, and enemies your way, with a couple of boss encounters thrown in for good measure. Yet, Zavala’s Ghost Targe proves a valuable ally to your cause, assisting your pursuit of the Commander in a myriad of ways. Eventually, your path leads you to a fight against the Devoted Acolytes.
Bosses Be Gone: How to Defeat the Devoted Acolytes in Destiny 2’s The Final Shape
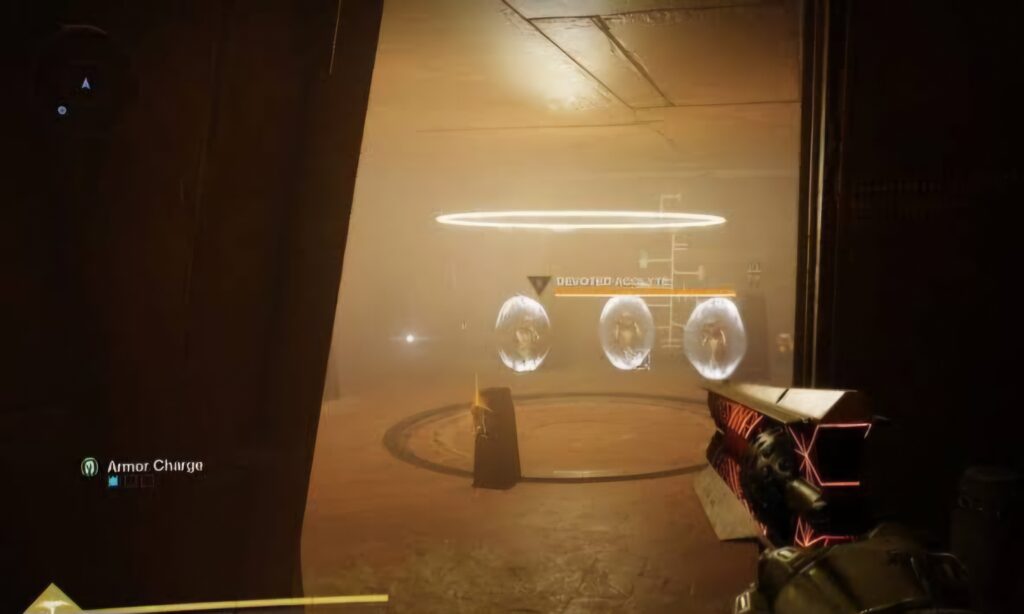
This fight has two major phases. In the first phase, there are three Devoted Acolytes to take down who split up and take up positions on the left, right, and rear of the arena. We recommend going for the ones on the left and right first for reasons we will explain as we go on.
Each of the Acolytes is protected by enemies that you will have to take down to get to them. One of them has a couple of Shriekers that you will need to burn in order to cause damage to them. The Acolytes’ low health makes them easy to take down once you deal with their support troops. The other Acolyte has Knights that you must take down before you can get to it and kill it.
SUGGESTED: Know Your Gears: A Comprehensive Guide to The Final Shape’s Exotic Guns in Destiny 2 Part 2
With the Acolytes on either side out of the way, you can now attack the third one at the rear without having to worry about any other enemies coming in to assist it. The reason we recommended saving this one for last is because this central section is a much smaller space than the other two, and it can get difficult to manage fending off multiple enemies at once on higher difficulties.
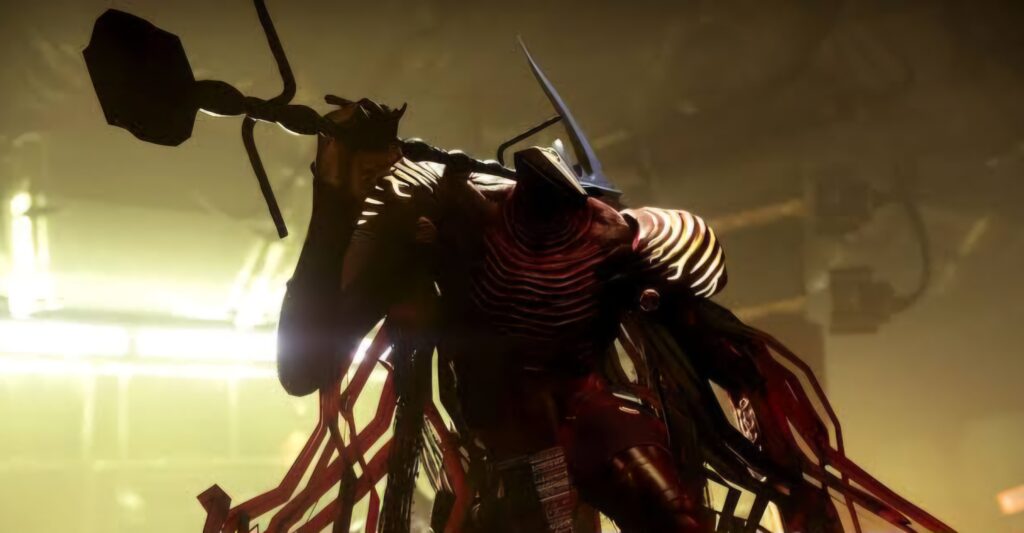
The second phase of the fight begins once you take down the three Devoted Acolytes. Doing so spawns a Devoted Commander, who is a juiced-up version of the Tormentor. The Devoted Commander comes with a massive health pool and powerful attacks that can deal a ton of damage if you’re not careful. His scythe can be devastating at melee range, while his long-range attacks can be hard to avoid. Fighting from behind one of the many pillars in the room can be a good strategy.
Despite his speed, agility, and high damage output, the Devoted Commander does have a few vulnerabilities. Look for weak points on his shoulder and chest that you can attack with machine guns for a steady stream of damage. Watch out for Dreads that can spawn when you bring the Devoted Commander’s health down by a certain percentage. Dealing with these minor threats should be a priority, as you can quickly find yourself overwhelmed if you don’t.
A strategy that seemed to work for us was to take cover behind the pillar in the left-hand room as the boss seems to lose sight of you while you’re there. This leaves you to launch a few attacks of your own and bring down its health by a significant margin. You should also save your Super for the Devoted Commander instead of wasting it on his Acolytes.
Weapons like linear fusion rifles, bows, and scout rifles work well against the Devoted Commander, allowing you to deal damage from range while offsetting his accelerated regenration factor. When you damage its weak points enough, the Commander enters a brief state of invulnerability. Conserve your ammo until this subsides to avoid wasting it.
What’s more, the Commander can enter a state of rage where his attacks cause a lot of damage and he takes on a highly aggressive approach to the fight, chasing you down with blinding speed and ferocity. In this state, it powers up a suppression field that negates any damage from your abilities. Considering this, it is best that you pick your moments to use any specials and your Super when you are certain they will be effective.
The important part is to stay on the move when the Devoted Commander is attacking you, enabling you to dodge his attacks while you return fire and attempt to cause damage. Once he is down, the boss fight ends and a hole opens up in the floor of the arena through which you can continue your pursuit of Zavala.
If you are looking for more help with Destiny 2: The Final Shape, such as knowledge on its many Exotic Guns, look no further than our guides to find what you’re looking for.