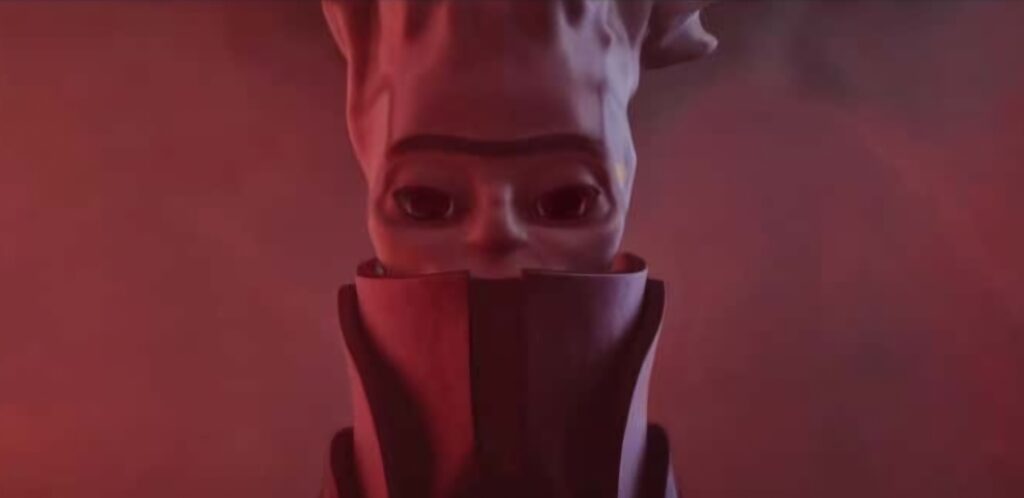
Bosses Be Gone: How to Defeat Eshkin’Tuk, Witness’s Blessed in Destiny 2’s The Final Shape
Getting Eshkin'Tuk, Witness's Blessed to appear is critical to taking him down, continuing your search for the Witness, and bringing events in The Final Shape to their conclusion.

Destiny 2: The Final Shape brings an epic conclusion to the war between Light and Darkness. With new environments, story beats, weapons, gear, and, of course, new enemies to take down, the final chapter of this long-standing saga has fans from all over the world diving right back into its universe.
While the expansion’s main draw is its narrative, it also brings a lot of new mechanics to the game. With various puzzles and obstacles in the path of your Guardian and their Ghost, Destiny 2 kicks things up a notch with its latest expansion. The final stages of this brand-new narrative are a masterclass in blending the game’s many elements together into a cohesive, thrilling experience.
The Beginning of the End
The Iconoclasm mission in The Final Shape explores the mysterious origins of The Witness, the main antagonist of Destiny 2. With its aura of invincibility shattered through discoveries made in previous missions, your Guardian and their team of allies travel to its alleged birthplace to seek out a way to stop its advance.
SUGGESTED: Bosses Be Gone: How to Defeat Dolgith, Blade of Reasoning in Destiny 2’s The Final Shape
Every inch of progress is hard-won, as the group needs to battle through hordes of Taken and Dreads, with harder encounters bookmarking important points in the mission’s narrative. These include Hive Knights, who can be difficult to take down if you are not prepared. However, the boss they are protecting can be a lot easier to deal with.
Bosses Be Gone: How to Defeat Eshkin’Tuk, Witness’s Blessed in Destiny 2’s The Final Shape
Eshkin’Tuk, Witness’s Blessed is not particularly hard to beat, as the encounter against him is a single-phase fight in which he does not have too much health and an easy-to-hit weak spot as his head. However, it can be difficult to know how to summon him up for the fight, requiring a lot of steps that need to be taken in order to progress the mission.
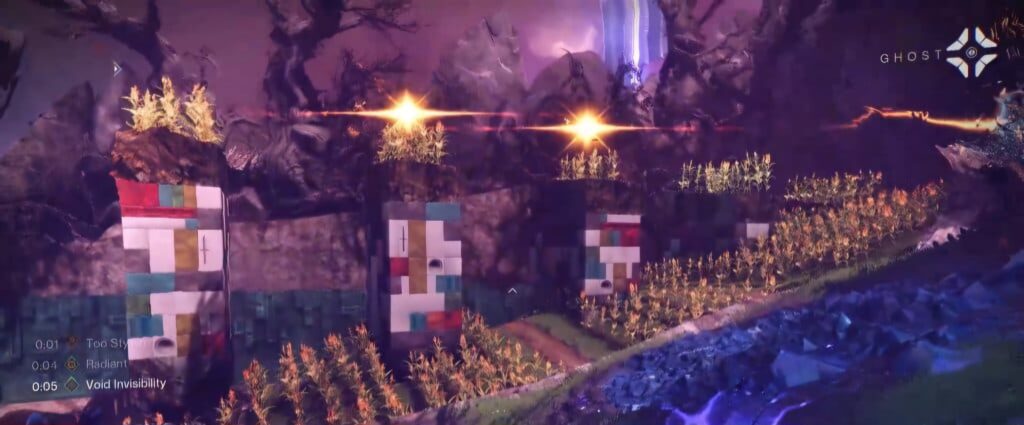
To begin with, you will need to progress through the crop field that you start the mission in, progressing to the Imprint of Nezarec boss encounter. This Tormentor can get challenging given that the arena you fight him in provides no safety from being thrown off the nearby cliff if you are unfortunate enough to take a hit from his dive attack.
With the Imprint of Nezarec out of the way, your Guardian finally begins tracing their path through the Sacrarium, where the Witness was supposed to have originated. This is a difficult area to navigate, with many red-eyed ghosts looking to deter your progress. Eventually, your Guardian makes their way to the ritual site where the Witness first came into being.
SUGGESTED: Bosses Be Gone: How to Defeat The Unwaking Mind in Destiny 2’s The Final Shape
However, the Witness is nowhere to be seen, with only a few ghosts for you to deal with being present in this new area. Once you clear them out, you soon find that the air in the rooms ahead is toxic to you, gradually wearing down your health. However, this can be easily fixed.
There is a Darkness Splinter in the area that you can shoot to introduce two Darkness Orbs on either side of the room. These grant the Shielded from Darkness buff to your Guardian upon shooting them, removing the toxic effects of the area ahead. A new trapdoor opens up for you, leading to a fairly challenging encounter against two of the aforementioned Hive Knight minibosses.
These Knights may not be the most terrifying of foes, but they pack a punch with their erratic movements and aggressive melee attacks. Be on the lookout for their teleports and take the fight slowly to avoid taking too much damage.
There are more Darkness Orbs in this room for you to shoot, maintaining your buff against the area’s toxic environment. You will need to pay attention to the buff’s duration and reapply it when needed to avoid risking being wiped out by the Hive Knights and the air.

Each of the Hive Knights drops a Glyph upon their death, which you will need to remember in order to progress further. With both Knights down and the Glyphs memorized, head back to the previous area to find and interact with the corresponding Glyphs. Touching both of them finally summons Eshkin’Tuk, Witness’s Blessed and the fight against him begins.
Like we said earlier, the boss’ low health and exposed head make him among the easier encounters you face on this mission. On higher difficulties, he spawns Acolytes to help him against your onslaught who you need to take out in order to keep the odds overwhelmingly in your favor. Other than that, he has no shields to speak of and is vulnerable to your weapons and special abilities from the get-go.
Take him down to continue with your search for the Witness’ origin point, fighting off another boss and ultimately facing off against the Witness. You are close to completing The Final Shape and witnessing (no pun intended) the thrilling conclusion to Destiny 2.
For more help with other missions or collectibles in Destiny 2: The Final Shape, do check out our detailed guides to find what you need.