Alone in the Dark Chapter 4 Puzzle Guide and Walkthrough

If you are looking for some guidance in solving Alone in the Dark Chapter 4 puzzles, this means you have passed the first three Chapters of the game and again you have discovered your character surrounded with new mysteries. Chapter 4 is the second last chapter in the game and irrespective of your character selection, the game will direct you to a similar ending; of course, some events will be a bit different.
Like previous chapters, Chapter 4 also has multiple puzzles to solve, but the only difference is that this chapter is a bit more lengthy than the others. So, if you are confused about the walkthrough of the chapter, especially about the puzzles, this guide will help you know the solutions without spoiling much content.
Alone in the Dark Chapter 4 Walkthrough- Solving the Drawing Puzzle and Ruth’s Camera Puzzles
In Alone in the Dark, puzzles are scattered throughout each chapter and players have to solve each of them to progress through the game. The very first puzzle that players will encounter once they start their Chapter 4 journey is the Drawing Puzzle. To begin the journey, players need to make their way to the Sirring Room. Pass through the Grand Parlor, Dinning Room, Stair Hall, Conservatory, and Piazza to reach the Sitting Room. As soon as you open the door a cutscene with MacCarfey will start.
Once the cutscene ends, players will find Vestibule 1st floor on the floor. Pick it up and go to the first floor to open the Vestibule. Enter the room and initially, players will find it empty. However, there will be a safe that requires a code to be opened. First, tear off the wallpaper and match the numbers with Edward’s ID. The code is L6 R9 L2. Once the safe is unlocked, pick up the coin and an anomaly will trigger, closing the paths to access the Foyer.

Escape through the Grand Parlor and reach MacCarfey’s Room. Use the coin to unlock it. Next, unlock the vent in the room, to get the drawing. The puzzle can’t be solved immediately. Go to the Administration and access the safe there. The code is L9 R1 L3. Inside you will receive a Key to Gray’s Office. Access the office and there you will receive a drawing, globe piece, and spiral stair key.
Go to Grace’s Room and place the drawings to solve the drawing puzzle. Additionally, attach the globe piece to the globe outside her room. The next part of the story will take you to French Quarter 3. This is one of the most important sections of the game as it deals with Edward’s Trauma. Explore Edward’s Office to get the Desk Key and interact with Edward’s Ghost. Pick up the clues from the drawers to solve another puzzle.
We won’t tell you every detail as it will completely destroy your excitement and thrill. So, without giving many spoilers, let me tell you, eventually, the game will take you to the Pearl River Bridge where Edward needs to complete a few activities to pull a lever and rise the bridge. Next, a cutscene will play.
SUGGESTED: Alone in the Dark Chapter 3 Puzzle Guide and Walkthrough
Again players need to open the door of the Sitting Room and encounter a cutscene with MacCarfey and Grace. Once the cutscene ends, players will find themselves in Grace’s room. Pick up the Jack in the Box and leave the room. Pick up the Vestibule 1st-floor key from MacCarfey, and enter Cassandra’s room. We are not going to tell you everything to spoil your further journey. So, let’s jump into Ruth’s Camera Puzzle.
At a point, players will be free to explore the Attic and the Derceto. The puzzle is located there. Climb the stairs down and enter the empty room. Ripping off the wallpaper of the left side wall reveals writings. The writing will be familiar to Emily. It indicates the year 1918 and the safe code is the last three digits of the year: 918. Open the safe to receive Flash Bulb and To Emily clue. Get back to Ruth’s room and place the Falsh Bulb on the camera to solve the puzzle.
Alone in the Dark Chapter 4 Walkthrough- Exploring the Medical Ward
Exit Ruth’s Room and start following the trench. Keep your journey through tunnels and barracks, fight a few monsters, and eventually a Monster will start following you. At a point when you reach a dead end and the monster is about to reach you, an airstrike makes the screen black. After that, progress through the debris and soon you will see a cutscene. Once it ends, players will find themselves in The Morgue, the Medical Ward.
As soon as you get back into control, find the switches to turn on the light. The breaker box is located in the third room. Turning on the light is required as the floor plan needs to be found. On your right side broken cabinets, you will find Derceto Entombment Plans B. Explore the room thoroughly and you will find the Closing the Refuge clue from another desk. Derceto Entombment Plans A will be picked up from the center bench. Place the blueprints to solve the puzzle. The name of the room will be found at the corner of the blueprints.
Once this puzzle is done, a cutscene will start and the Dark Man will give Emily the The Truth key. Exit the place and come back to the Attic. Explore the location and put 6-4-1 to solve the Talisman puzzle. Next, players need to escape from there and board the Steam Boat. Progress as the story directs you. The remaining journey won’t be challenging until you reach Jacob.
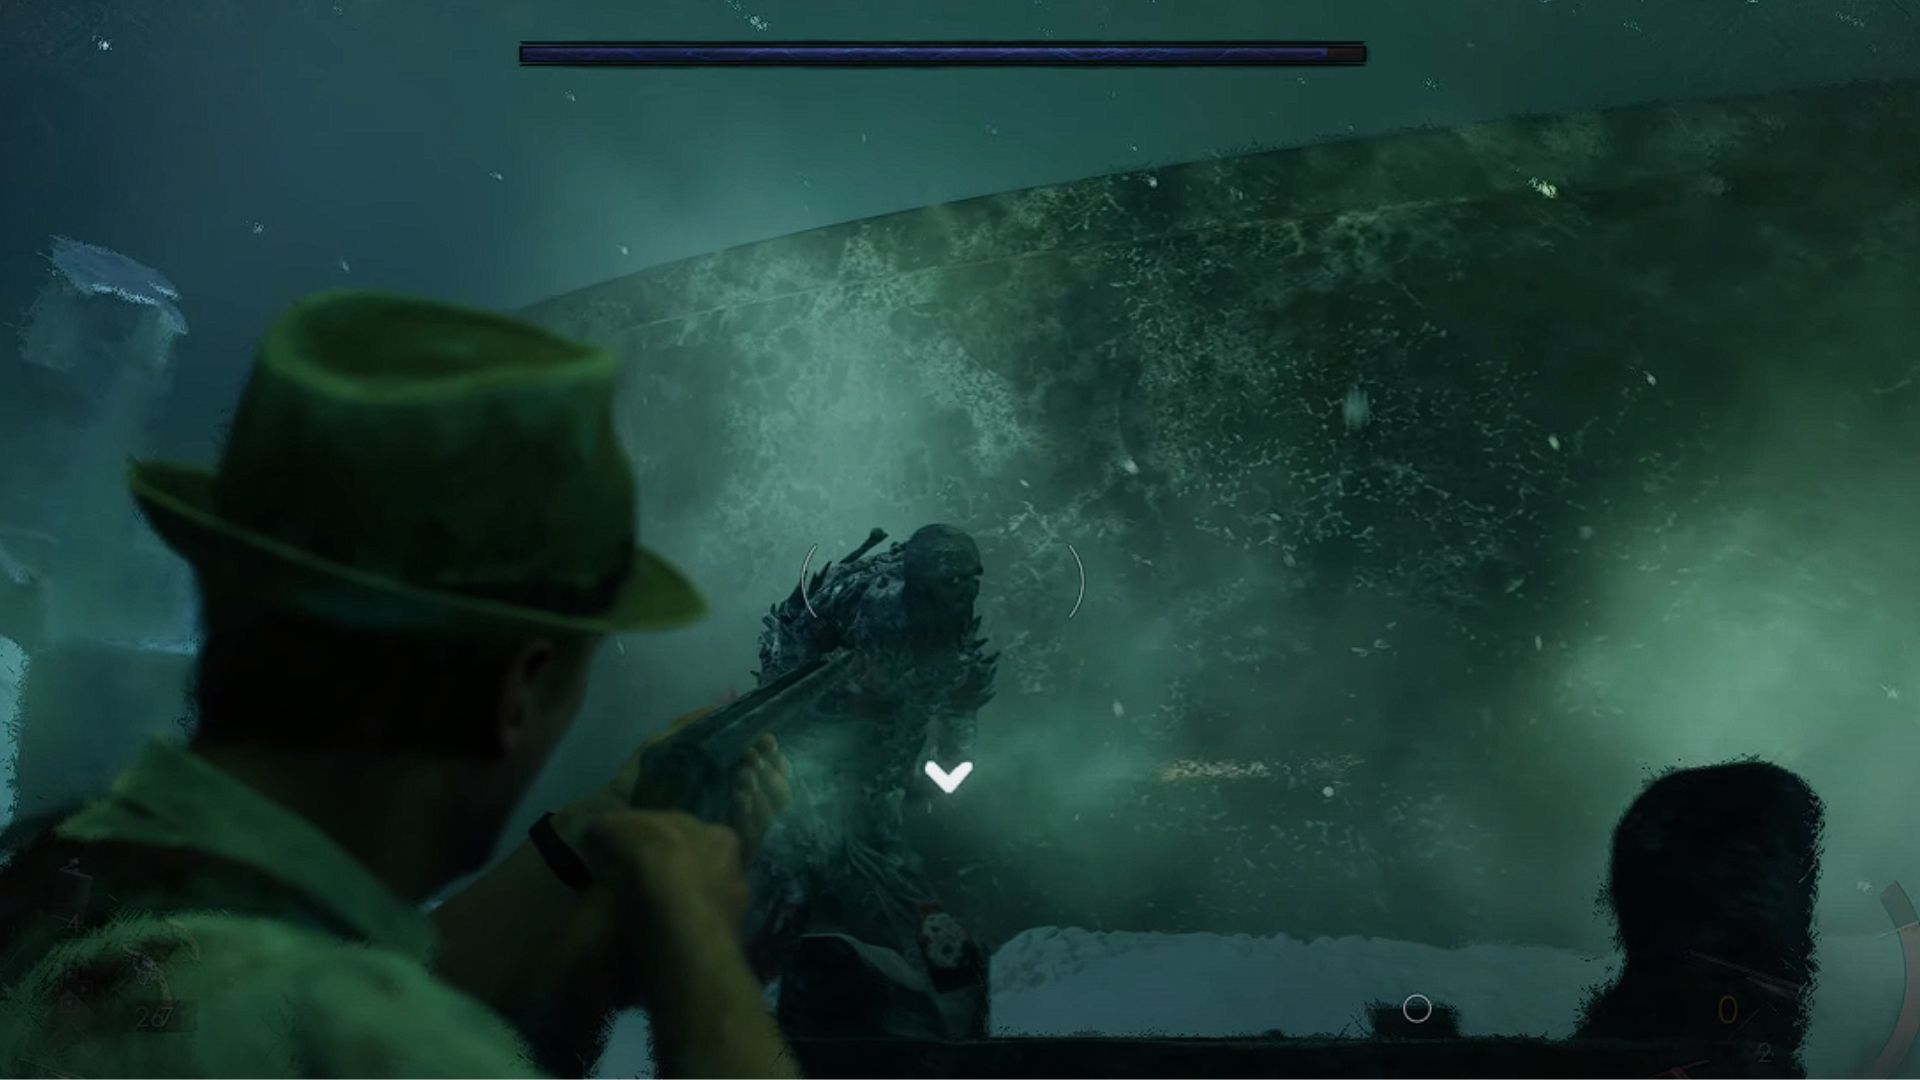
Jacob needs to be defeated three times. He is a mutated enemy and his tentacle-like arms hit hard. Keep your distance during the fight as these tentacles have a good range. Whenever they attack, make sure you dodge them. Use Sacrificial Dagger on the enemy, whenever he goes down. Once you defeat him for the last time, the final cutscene of the chapter will begin.
That’s everything players need to do to solve the puzzles of Alone in the Dark Chapter 4. It is unfair to spoil everything before you discover it during your playthrough. So, jump into the chapter and discover the secrets.