Alone in the Dark Chapter 3 Puzzle Guide and Walkthrough

Exploring Alone in the Dark will soon make you realize that the game will take you to a certain point every time you end a chapter. As soon as you reach the end of Chapter 2 and find Jeremy at the cemetery site, you will be brought back to Derceto to begin the next chapter. Though the chapters are not challenging, exploration and puzzle-solving play key roles in completing them. Expectedly, Chapter 3 is no exception to this tradition.
Since the game begins, players can feel the scary and mysterious vibe of the surroundings. At every step, they need to solve a puzzle to open the way to progress further. So, if you are at the beginning of Chapter 3 and need clarification about the process of exploring the chapter, this guide will give you a detailed walkthrough, including puzzle solutions.
Alone in the Dark Chapter 3- Gallatin Street and Talisman Puzzle Solution
When Chapter 3 begins, players only have a Chest Key and a letter with them. Following the initial cutscene, players will encounter Juan in the courtyard, reading a book under a tree. Players can initiate three optional conversations with him to learn about Jeremy and the Dark Man. Once the conversation ends, go to the library on the left side. Next, make your way to the catacomb. It will take you to the Grand Library.
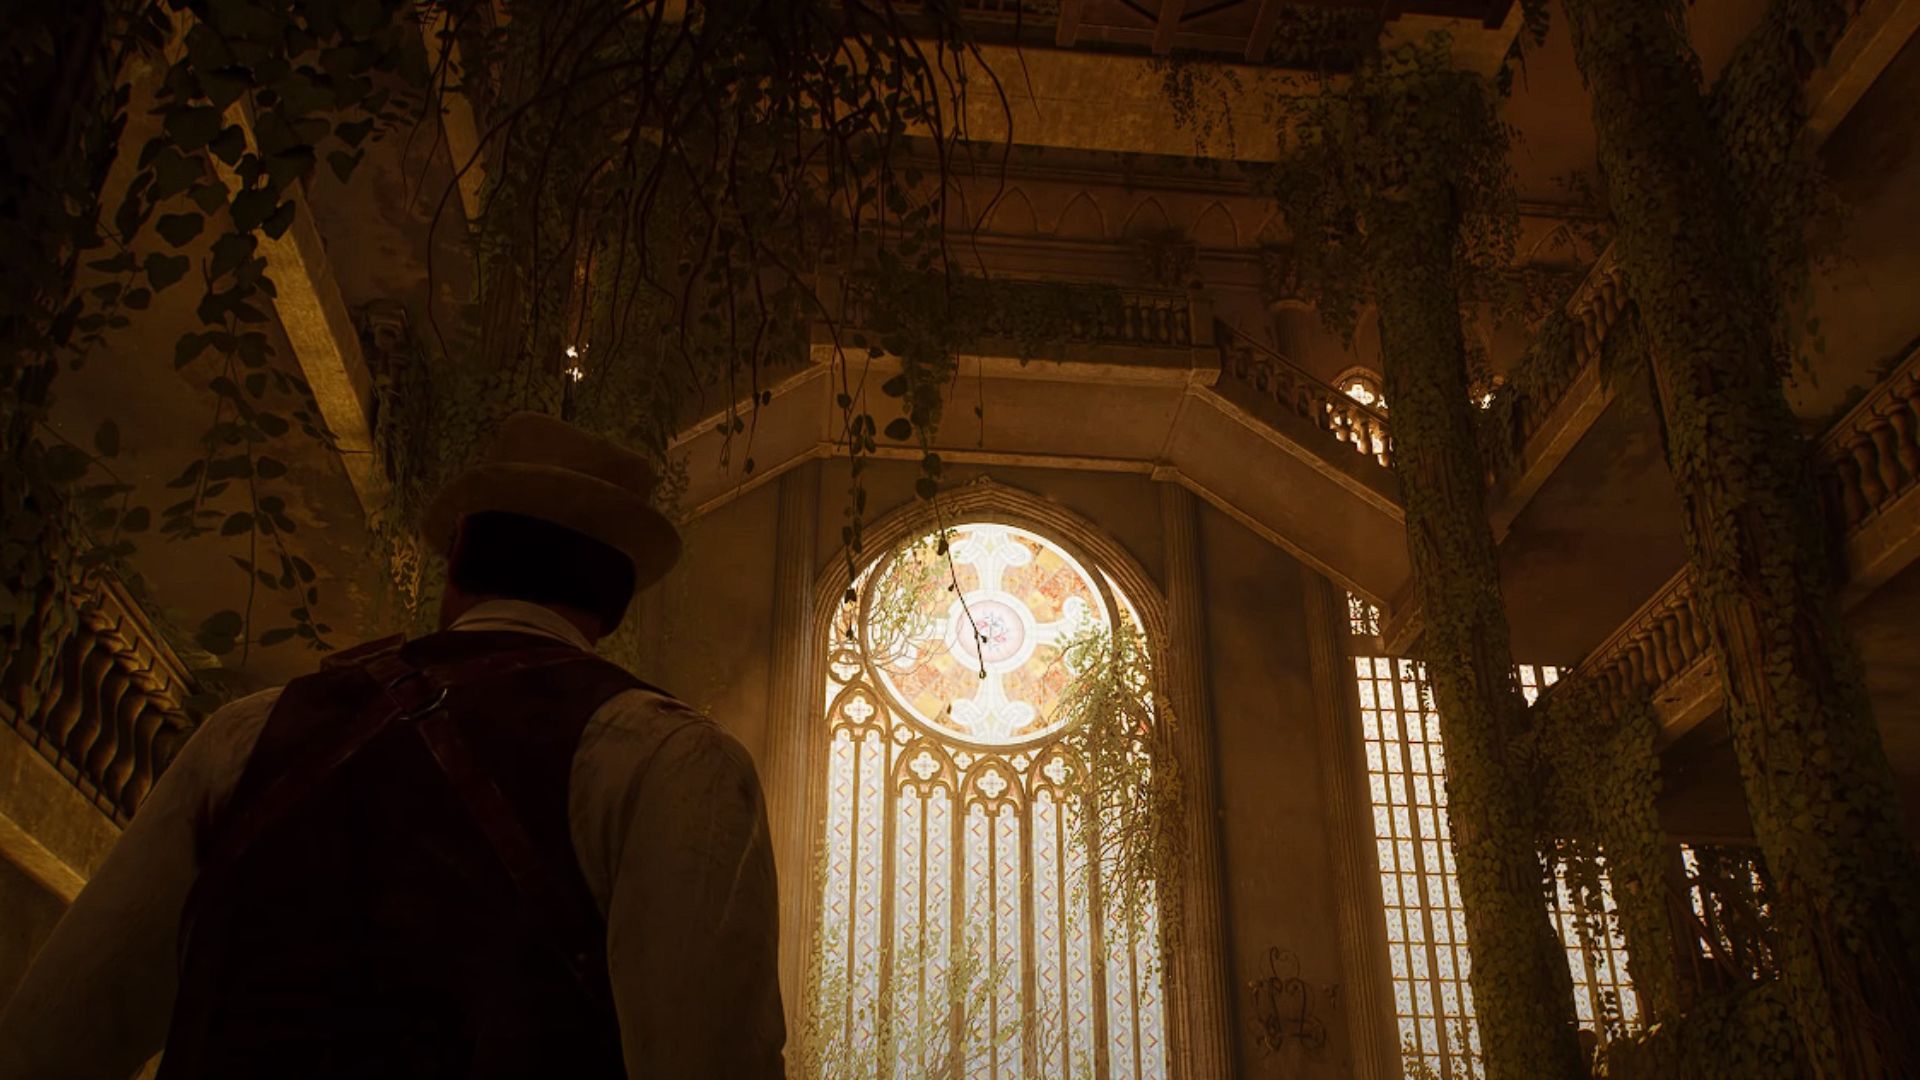
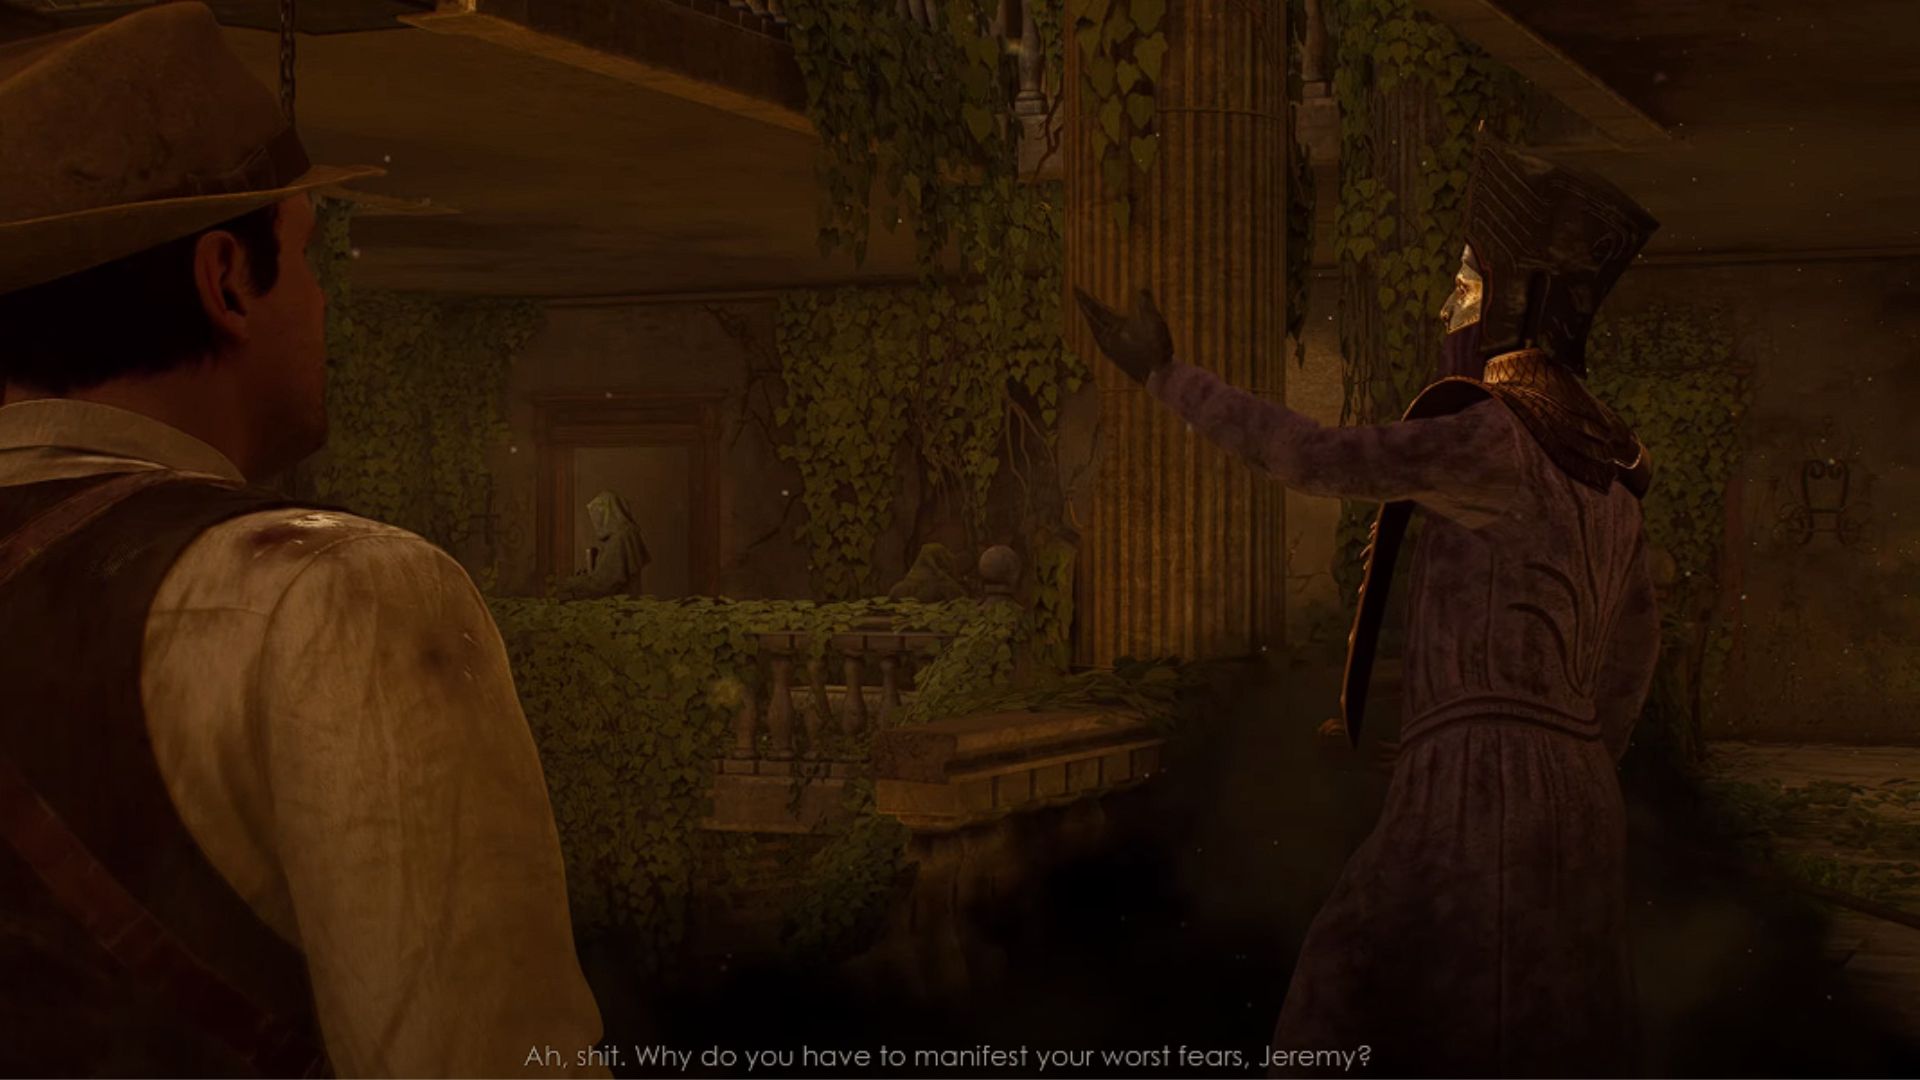
Explore the Grand Library to find the Grand Library clue. At the end of the floor, climb upstairs and pick up the cross to trigger a cutscene with the Dark Man. Place the cross behind you on the pillar and the ladder will take you down. The Dark Man will follow you, keep running using the Cross on the pillars to let them go down. Once you reach the third floor, you will find a doorway to enter and the Dark Man won’t follow you further.
Eventually, you will find an elevator that will take players to Gallatin Street. A cutscene will start and at the end of the cutscene, players will receive the Matchbook Lagniappe and The Dark Man Enters clue. As soon as the cutscene ends, players will find themselves in the middle of the street.
Players will find a warehouse in front of them, but that’s not the destination they are looking for. So, turn right and start progressing forward. After a few seconds, turn left to enter a boathouse. Defeat the monsters to clear the path. Though the game doesn’t feature hordes of enemies everywhere, a few will be found scattered here and there. Inside the boathouse, players will find the New Orleans Docks – Pier #11 clue on the wall.
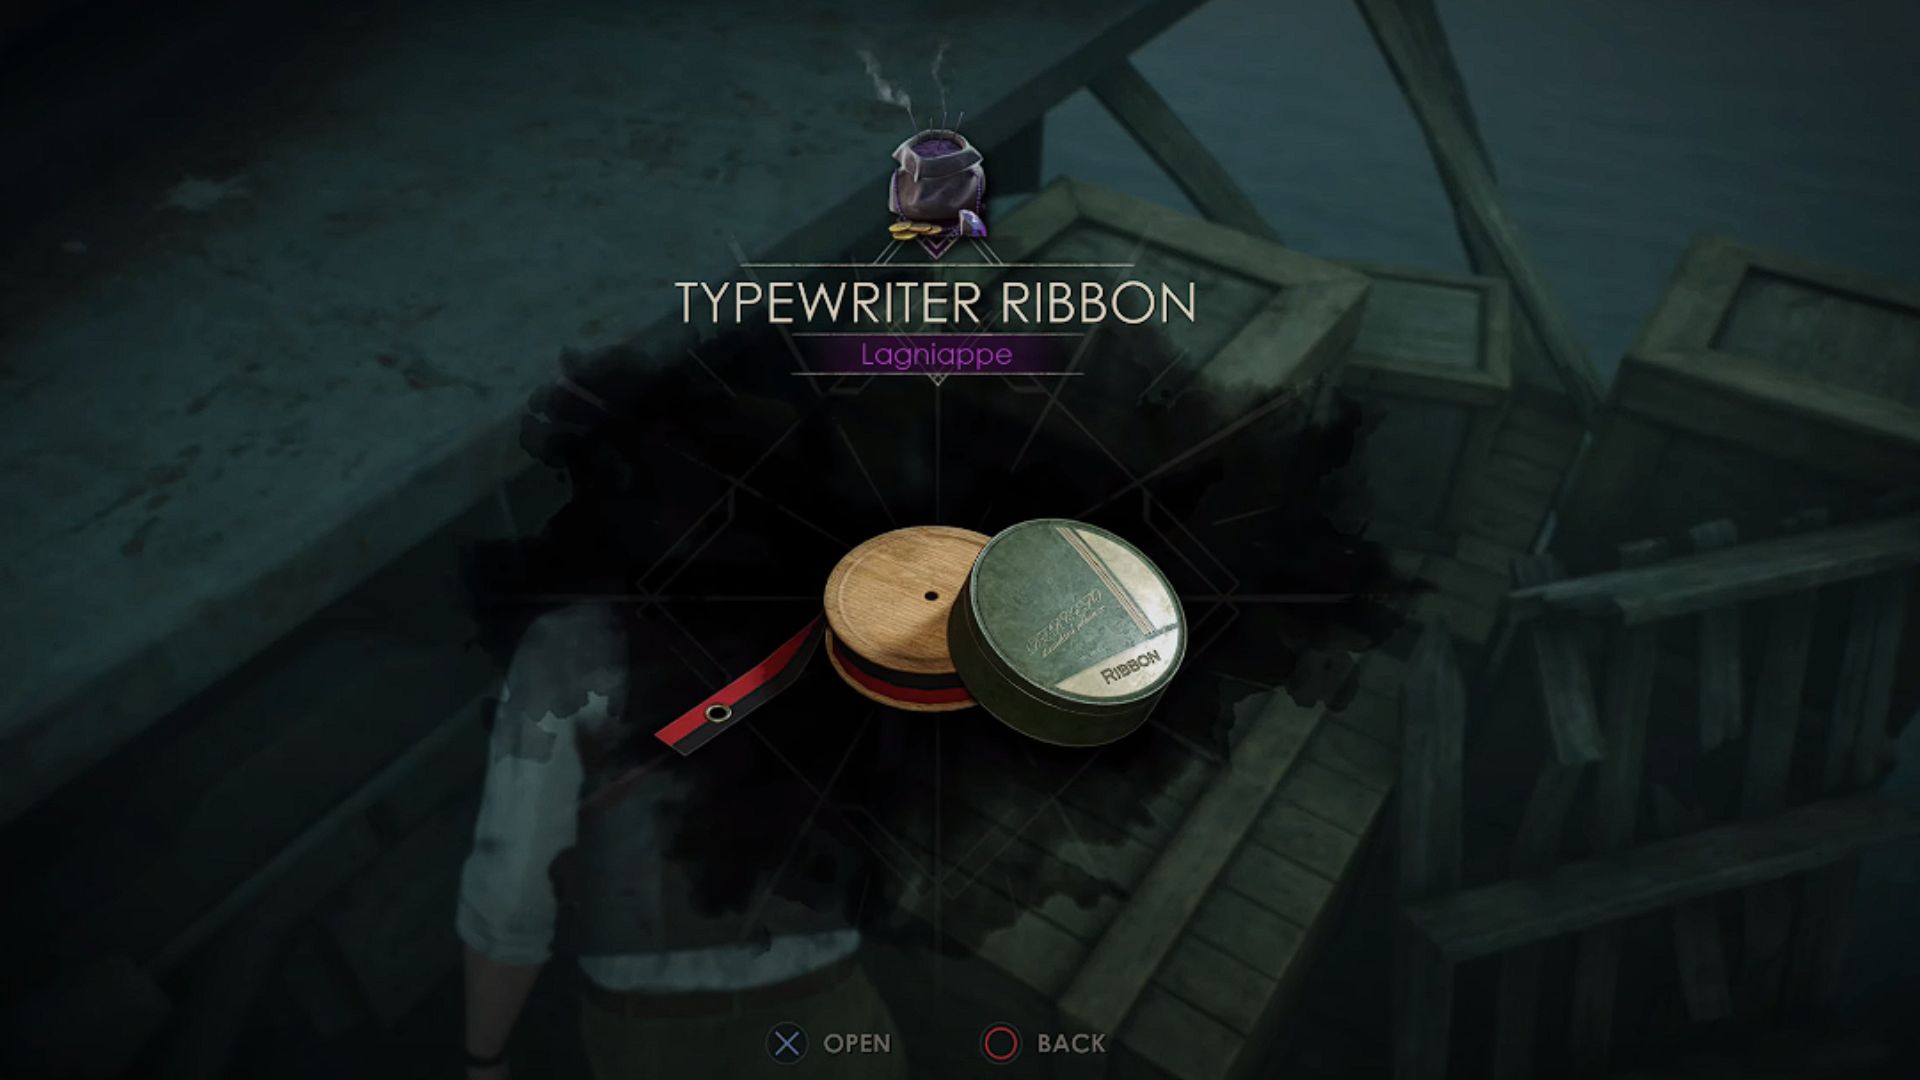
Next, roam around the building to find the ladder on the backside. Climb it up and then jump through the hole. You will find the Crane Key next to the door. Once you receive the key, make your way to the Docks and find the Typewriter Ribbon Lagniappe on a small wooden crate. Also, a Crane Machinery can also be found there.
Activate the Crane to access the Sewers. Fight the monsters and follow the sewers as far as possible. On the right side, there will be a ladder to access the warehouse. Collect the Severed Horn Lagniappe and make your way to the office. In the office, players need to pick up the All His Things clue from the wooden cabinet. It will give you the safe code which is L4-R5-L4. Inside the safe, players will get the Cargo Manifesto.
Now, come to the main entrance and get out on the streets. From there make it to a bright-lit building. Don’t enter immediately, come to the garden area, instead. Find your way to reach the showroom, and a cutscene will start. After the cutscene ends, players need to put 2-5-8 to solve the talisman puzzle.
Chapter 3 Walkthrough- Sunken Temple Lens Puzzle
The next part of the chapter requires players to make their way to the Sunken Temple. For that, follow the path down the dune which will take you to the camps. Explore the location and find ropes from there. Besides the ropes, players will find the Beyond the Nile Valley clue. Pick up both items and go to the area where there is a hole in the ground.
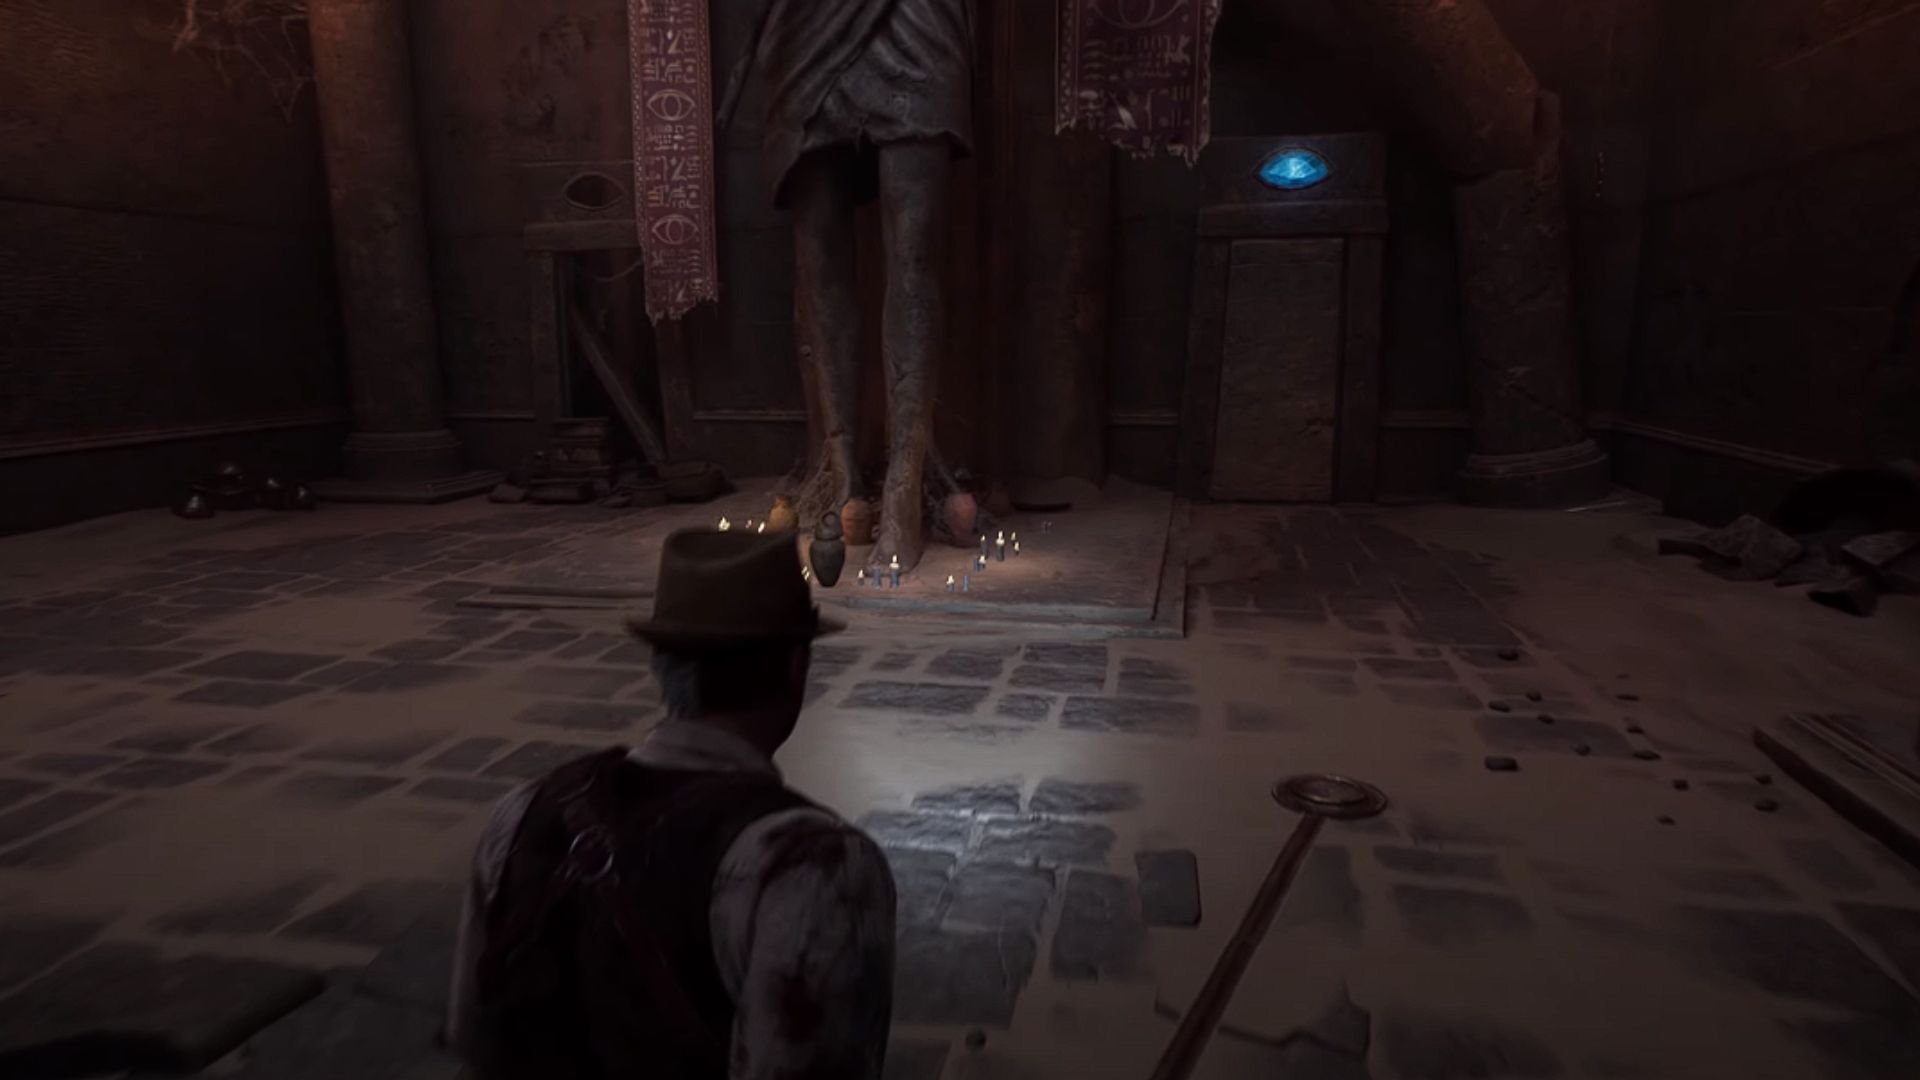
There will be a pillar where players need to attach the rope to go down the hole. Once you attach the rope, a cutscene will show your character descending using the rope. As soon as you land, you will spot a gigantic statue. Approach it and pick the Canopic Jar Lagniappe from the base. Now, go to the left side of the statue and pull the lever. This will open a new pathway.
Fight the flying monsters and descend the stairs. Eventually, you will reach a door where again you need to solve a puzzle: lens puzzle. It is simple; pick up the lens from the box, add it to the lens holder, and pull the lever. It will be found near the door. Players need to aim the beam at the eye above the door to open it.

Fight enemies and progress through the way, use the mirror to open another door at the opposite side. Make the beam go to the blue gem in the large statue’s crown. As you explore and progress there will be another lens puzzle where players need to pull a lever to send the beam to the eye on the box on the floor. Pick the lens up.
On the other side balcony, players need to add the lens to the giant statue. Direct the lens to the eye of the door and aim it at the crown of the giant statue. Next, explore the location and direct the beam accordingly. We don’t want to spoil everything to ruin your thrill. Finally, you will interact with a plate to trigger a cutscene, which will give you detailed information about Dark Man’s Contract and a Sacrificial Dagger. Chapter 3 ends with it.
That’s everything players need to understand to go through Chapter 3 of Alone in the Dark. We hope this guide has resolved all your queries about the puzzles and progress path.