All Lorestangir Locations in Hellblade 2
Let the past guide your future.

Hellblade 2 has garnered a lot of positive attention among gamers for its immersive gameplay and well-tuned combat. With a lot of emphasis on exploring a grim, desolate version of Iceland in her quest for vengeance, it is only natural that collectibles in the game aim to flesh out its narrative for players to understand Senua’s motivations better.
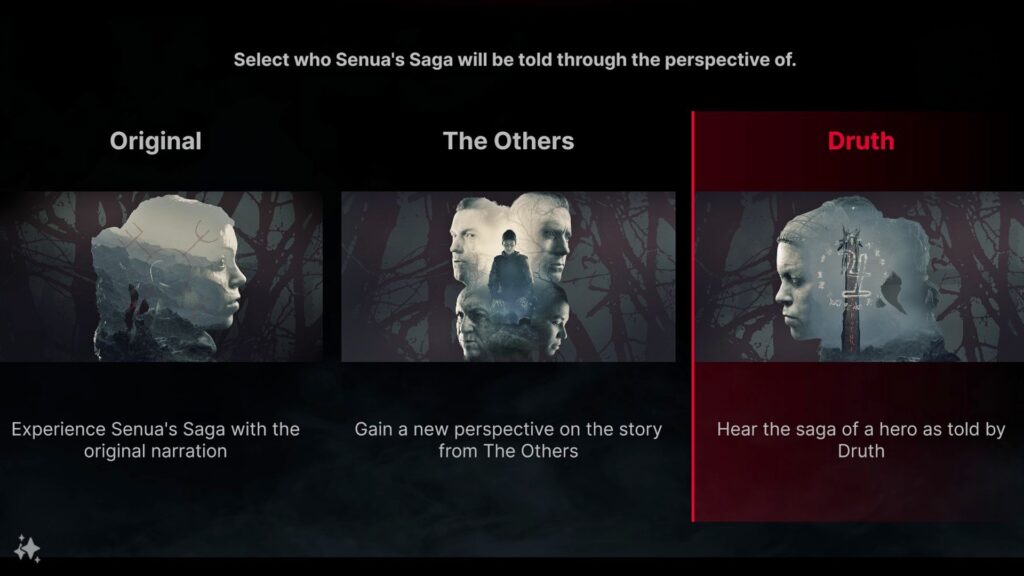
These lore drops come in the form of collectibles called Lorestangir, which are discoverable across all chapters of the game. They trigger recollections of an Icelandic legend called Grettis the Strong, narrated by Senua’s old friend Druth.
Finding every Lorestangir unlocks Druth as a narrator for subsequent playthroughs while also rewarding you with the Tales of Midgard Achievement in Hellblade 2. It’s time to dive into the legend.
All Lorestangir Locations in Hellblade 2
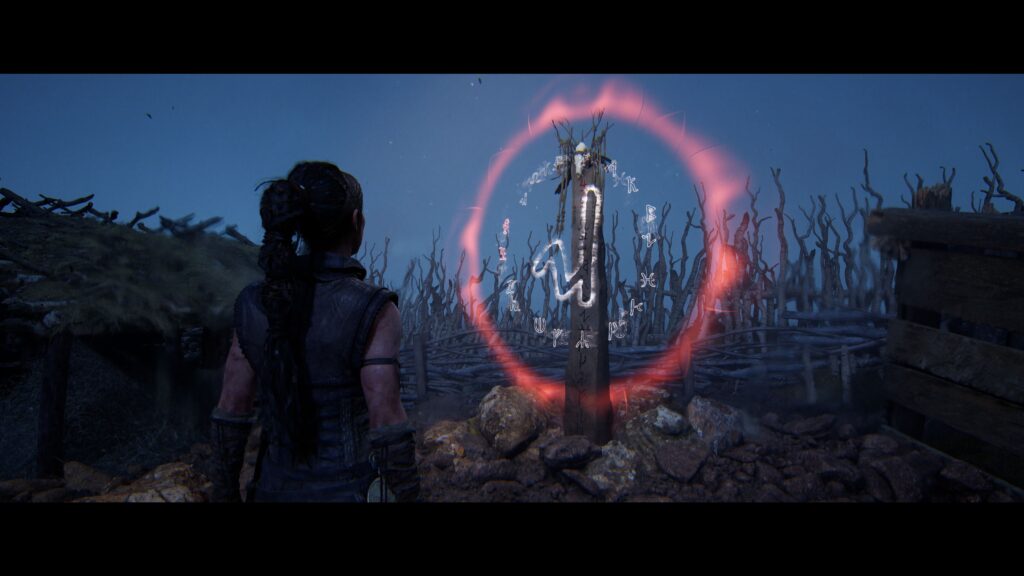
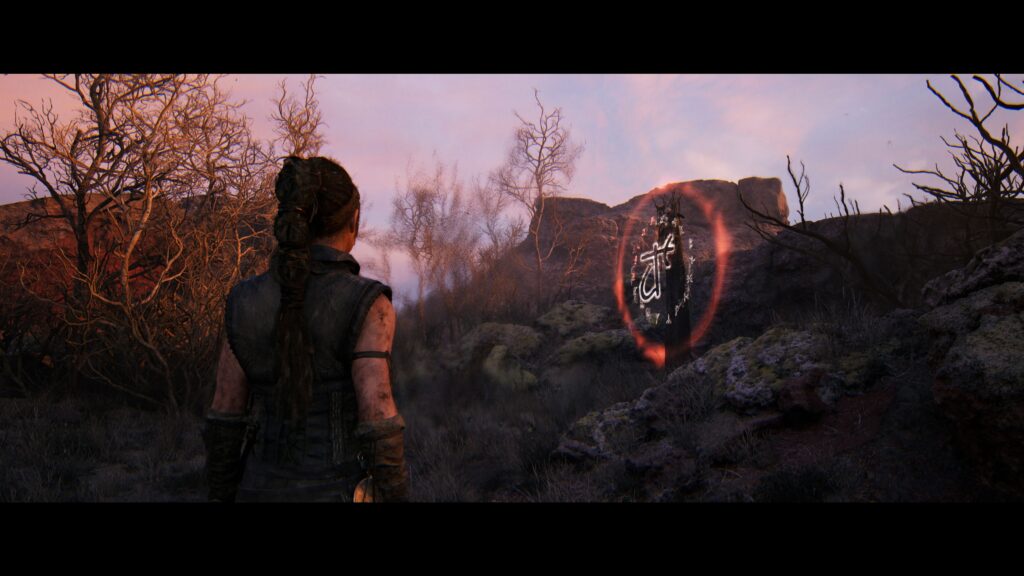
Each Lorestangir is a totem that Senua must track down and use her Focus skill on until a red glow appears around it and the corresponding piece of Grettis’ tale gets unlocked.
SUGGESTED: All Wasteland Can Locations in Stellar Blade
What’s more, symbols on these totems light up when the corresponding totem has been completed, which makes tracking them fairly easy, although finding them as you explore is challenging. We have a lot of ground to cover.
Chapter 1 Lorestangir
There is only one totem to find in the game’s first chapter, and it is along the path Senua takes on her journey.
SUGGESTED: All Spire 4 Can Locations in Stellar Blade
Once you complete a long climb over some cliffs and make your way past them, the totem can be found on the cliffside. Focus on it to collect it.
Chapter 2 Lorestangir
There are four totems in Hellblade 2’s second chapter. To begin with, follow the slaver until you see a hut with two poles marking its entrance. The totem can be found at the back of this area.
The next totem can be found in the deserted village, where Senua recovers her mirror and fights off a few monsters. Once Senua exits a barn with a hanged man, there is some debris to duck under to the left of the barn’s exit, where the totem awaits her.
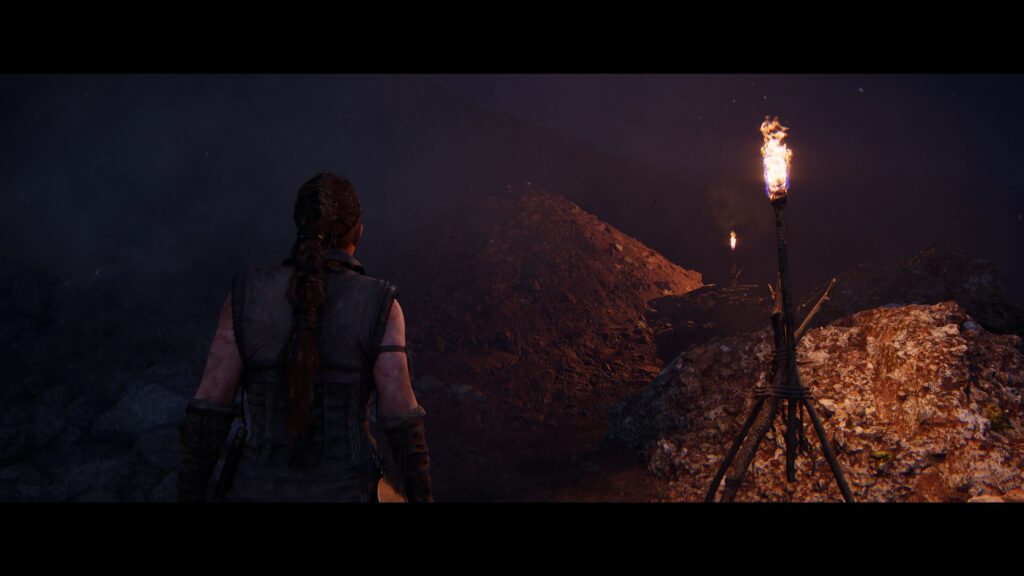
Next, follow the narrow cliffside after Senua fights off her first Draugr to find a hidden ladder in the open area that follows. Climb up and follow the pathway lit by torches to find your next Lorestangir.
Senua soon finds herself following along with a rescued captive, who leads her to a fork in the path. The road on the left leads to the final Lorestangir for this chapter.
Chapter 3 Lorestangir
There are six totems to find in this chapter, beginning with a village with an old, ruined house. The Lorestagir is to the left of it.

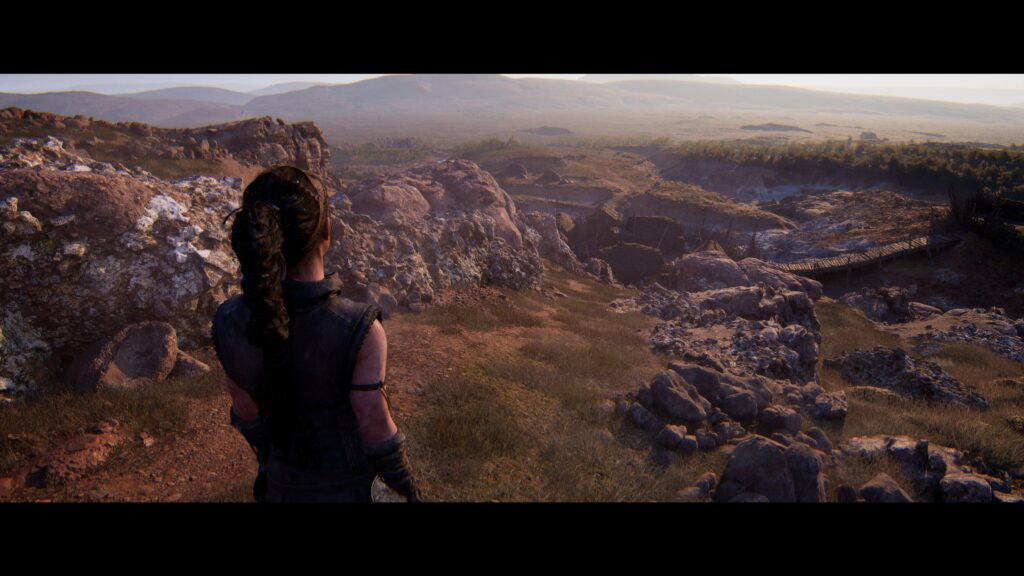
The next Lorestangir is after Senua escapes the forest and finds a hillside village. Head to the summit of the hill to find it among some huts.
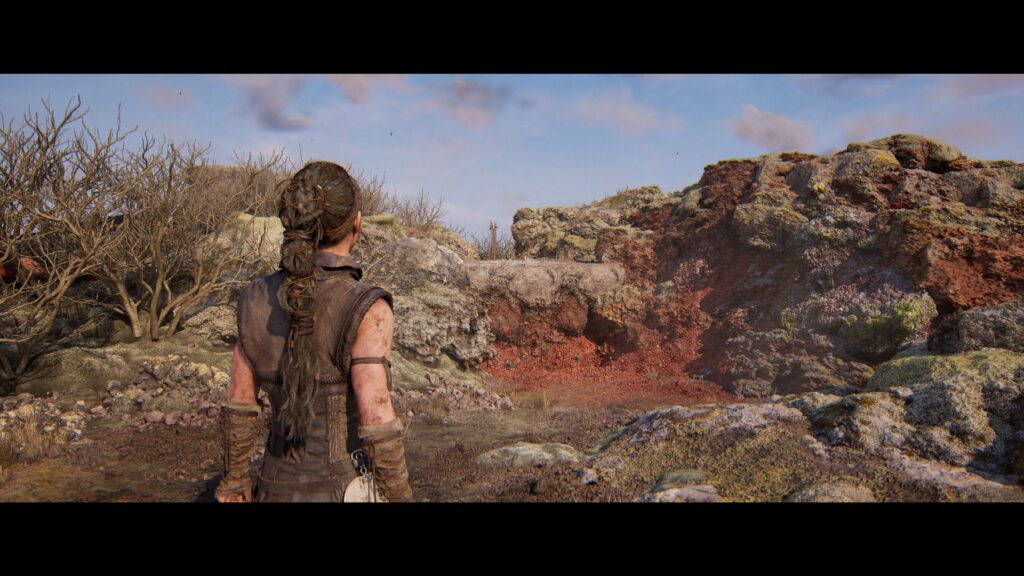
Moving on from the hillside village, Senua finds a Lorestangir that seems unreachable from where she sees it. However, there is a path to it a little further down along the road, so keep your eyes peeled.
After the second ball puzzle that Senua completes, follow the path until she has to climb down a couple of ledges. Just past two pools of water on the left is a path to this Lorestangir hidden behind a small gap that she can squeeze through.
Backtrack to the two pools of water and look for a small cave entrance on the right of the main path to find this totem.
In the mirror cave with the third ball puzzle for Senua, a path to this totem can be created on the left to reach the totem and one of the spheres you will need for the puzzle.
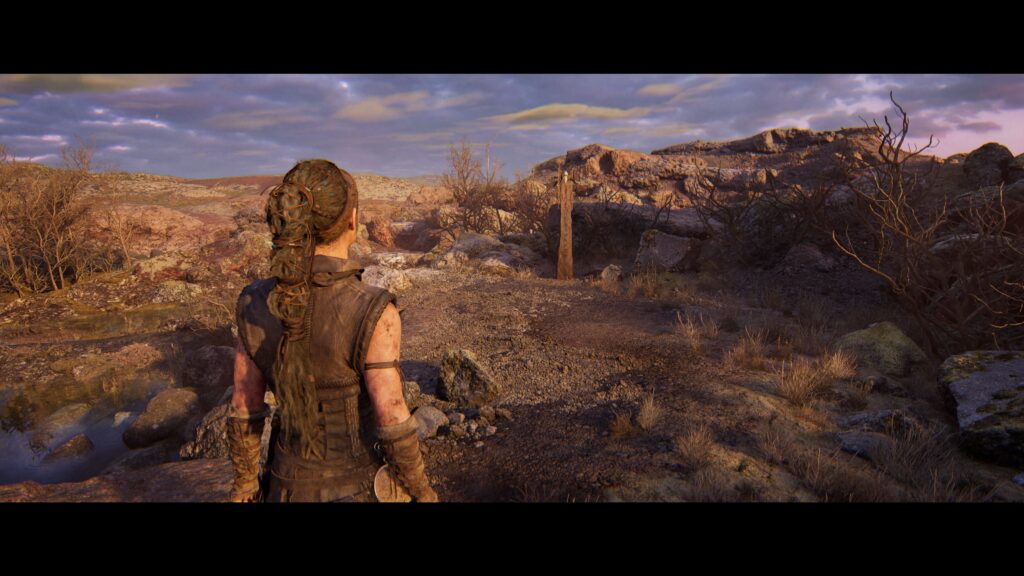
Chapter 4 Lorestangir
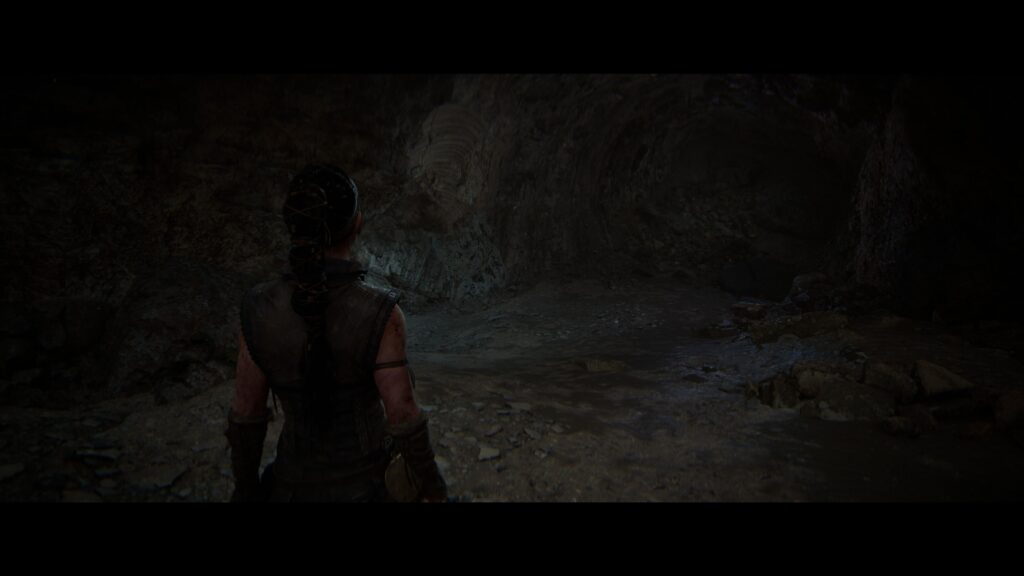
There are three Lorestangir to find in this chapter, and you will need to keep a sharp eye out for them in the darkness of the caves. To get started, follow the main path until Senua needs to climb down three ledges. You should be able to see this Lorestangir on the right. To reach it, drop down another ledge into a small pool of water to find a ledge on the right that you can use.
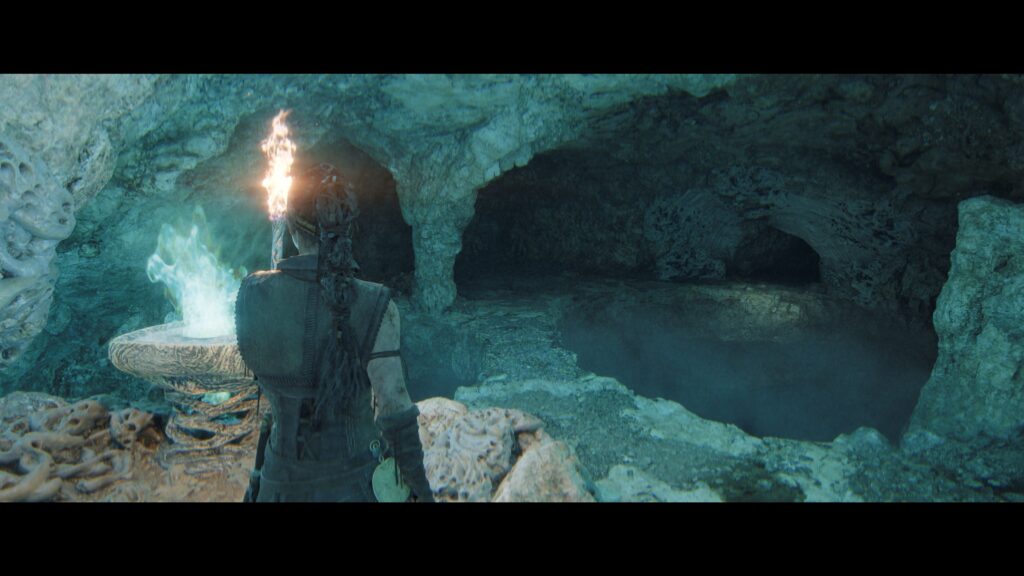
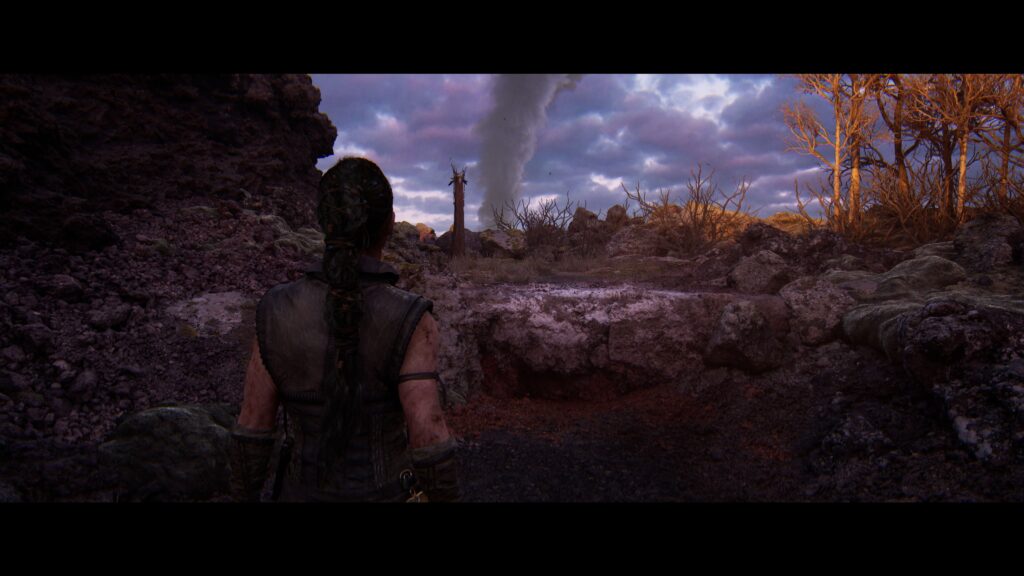
Senua finds herself in a flooded area where she must light a magic fire to see the path forward. An open area on the right has a small ledge she can climb down to find this Lorestangir.
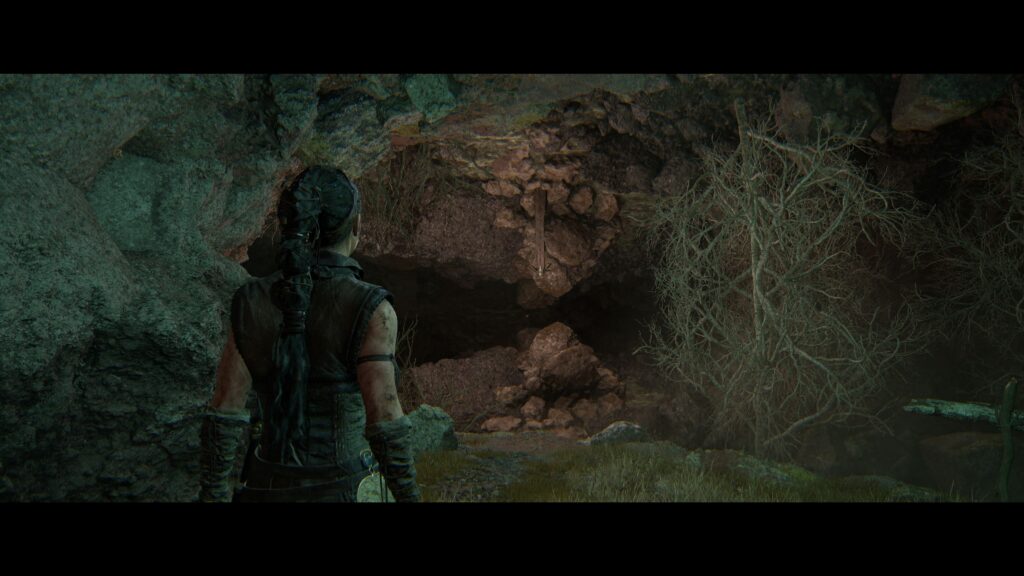
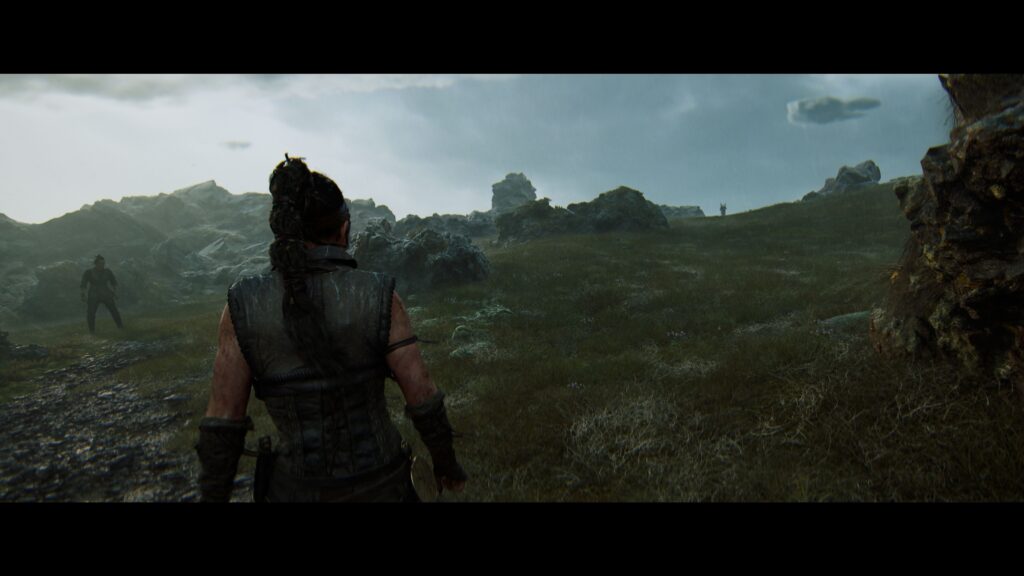
After she fights off a hoard of monsters later in the chapter, Senua reaches a fork in the road. The path on the right leads to the final Lorestangir of this chapter.
Chapter 5 Lorestangir
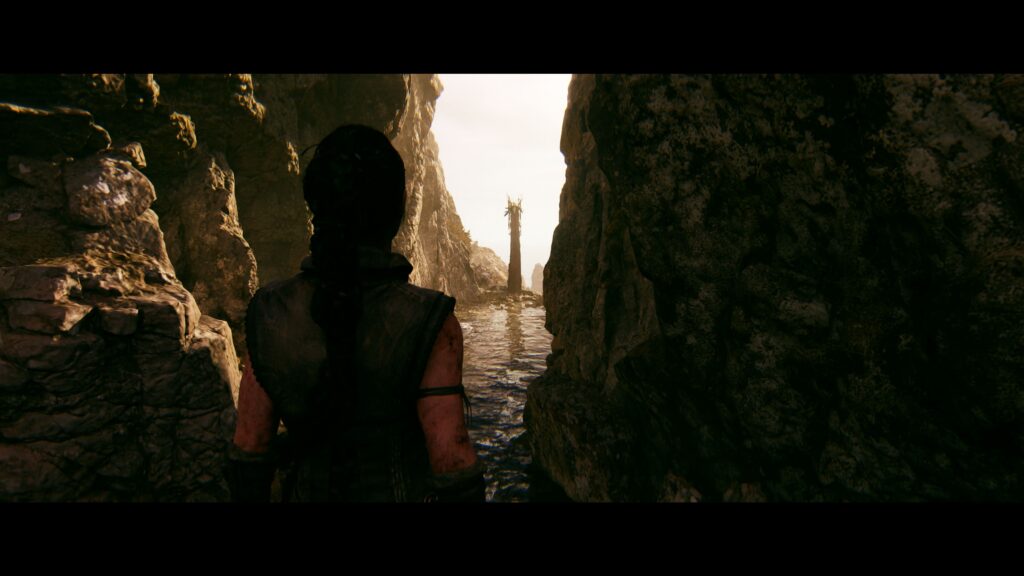
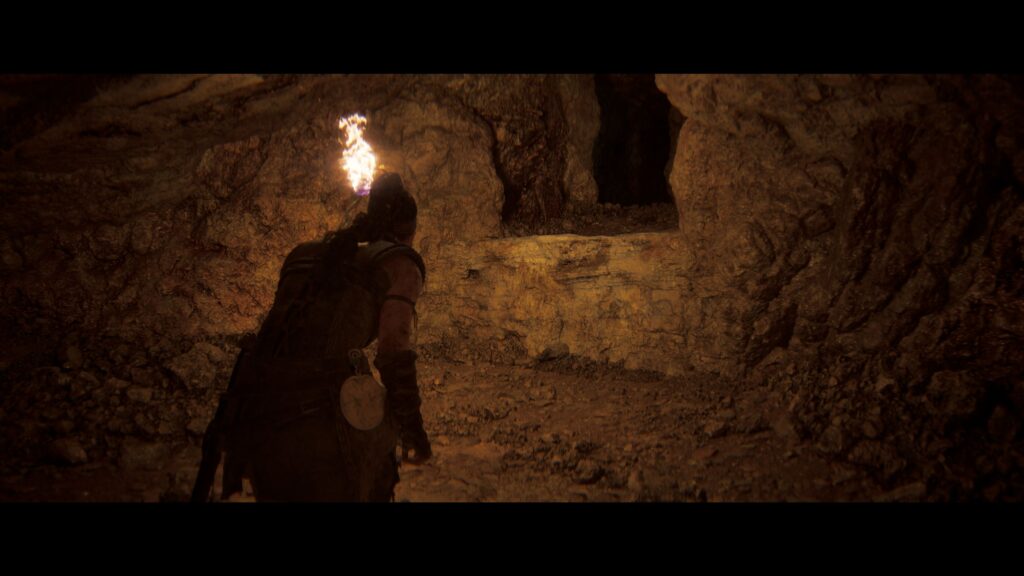
The final four Lorestangir can all be found in this chapter. As you follow the main path, you will see a waterfall on the right and a nearby hill. Head up the hill and find a cave entrance that leads to this Lorestangir at the end of a stream on the right.
After a cutscene that unites Senua with a woman, there is an open field where this Lorestangir can be reached via a path on the right.
Once Senua is tasked with finding three glyphs to progress further along this beach filled with shipwrecks, look for a path to the right from where she acquires the trident-shaped glyph. A shipwreck and some clouds of purple gas hide the path to the Lorestangir. It is behind the first cloud on the left.

In the deserted village, proceed until the path breaks into two. Ignore the path lit by torches on the right and head left to find your final Lorestangir!
Your collection of Lorestangir is now complete, and their rewards are yours to enjoy. If you’re having trouble navigating this brutal version of Iceland, we have a few tips and tricks to make things easier. Our Hellblade 2 guides can help make things easier too!