All Crane ID Locations for Eidos 7 in Stellar Blade
Eve isn't going to let a mere chasm get in her way, is she?

Stellar Blade is very Soulslike in its approach to hiding items within its many levels. That’s a similarity that only compounds when some of these items are crucial to progressing the main story. However, a bit of exploration and a sharp eye for secrets goes a long way.
It is equally interesting that these mechanics are introduced to players quite early on in the story. It’s a risk that could make many people give up on the game entirely. However, for those persistent enough to stick with it, a very rewarding experience awaits them.
The Art of Building Bridges
After her encounter with the Brute early on in the story, and the loss of her mentor Tachy, Eve meets the scavenger Adam who asks for her help in retrieving a Hyper Cell from the dilapidated ruins of Eidos 7, a nearby megacity that once prospered with life and activity.
SUGGESTED: 4 Early Stellar Blade Combo’s You Need to Unlock ASAP
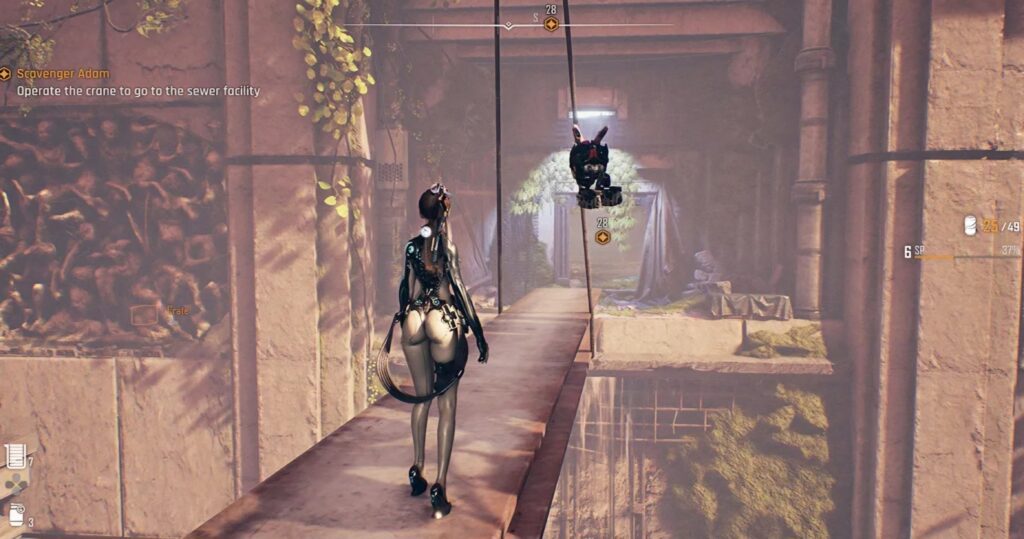
While its story and progression path may be linear, the way through Stellar Blade’s many levels is anything but straightforward, with Eve soon finding a construction site which needs her to use strategically placed cranes in the area to build a bridge over to her next objective. But there’s another obstacle in her way. She needs to find three ID Cards that allow her to bypass their security.
All Crane ID Locations for Eidos 7 in Stellar Blade

To begin control over the crane’s mechanism, the first step should be finding and resting at the nearby Supply Camp. There are a lot of Naytiba between Eve and the three ID Cards you will need.
With that safe point in your pocket, head on over to the control unit for the crane. Facing it directly, head north past the camp to the abandoned building across the street. You will need to progress through this building to its upper floors, using floorboards, yellow climbing points, and holes in the ceiling to do so.
A Nayiba guards a ledge overlooking a bar you can jump to. Dispose of it with deadly force and swing on over to the next level of the building. Look around and use your Scan to find a step you can swing up to reach the final floor of the building. A chest nearby holds the first ID Card.
SUGGESTED: How to Parry in Stellar Blade (Posture System Explained)
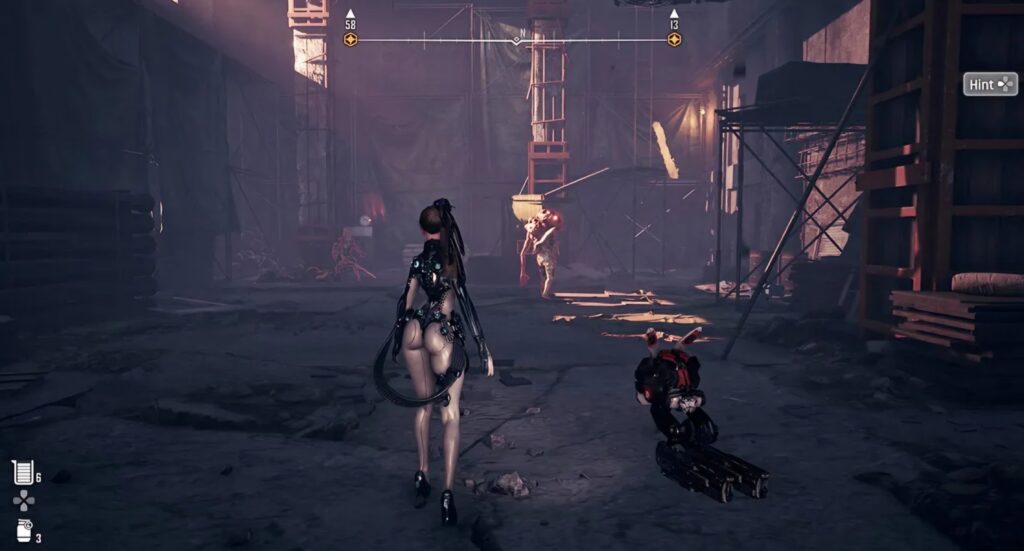
Return to the campsite and head in the direction opposite the vending machine. A small wooden bridge leads away from the campsite. Cross over and head left to find a giant gate and a frozen Naytiba. head right from here, battling through groups of Naytiba until you reach a large room with a lot of them.
Once this new threat is dealt with, scan the room to find some scaffolding at the back that you can climb. Follow this path to some ladders that lead you to chest containing the second ID Card.
Retrace your steps to where you originally entered this building, keeping a sharp eye out for a distinctly marked elevator. It is north of the entrance to the previous area and Eve soon finds she needs a power source to get it operational again.
She can enter the building using the nearby crates though! A hole in the ground floor leads to a lower level with some patrolling Naytiba to fight. A huge Generator in the corner of the room can be interacted with to restore power to the elevator above.
Use the elvator, pressing R2 when prompted to watch a brief cutscene between Adam and Eve. The nearby chest holds the third ID Card for Eve to pick up after it plays out.
With all three ID Cards in her possession, Eve can now control the crane and build the bridge she needs to go across to the next area of Eidos 7. There is a way to lower the toxic water in this region’s commercial sector if collecting some useful gear and upgrade materials is of interest.
For anything else you may need to tear through the ranks of Naytiba hordes, our Stellar Blade guides have you covered.