You’ll Need These – Easily Find the Hidden Mausoleums in Elden Ring’s Shadow of the Erdtree
Hidden Mausoleums shouldn't remain hidden for a long time. Let's check out their locations to explore these buildings.
Mysteries and secrets are perfectly woven into the storyline of Shadow of the Erdtree, just like players have seen them in Elden Ring. The vast world of Shadow Land lets players explore every nook and cranny of the game, and surprisingly, at every corner, something is waiting for them, and Nameless or Hidden Mausoleums can be one of them.
Throughout your journey through the Land of Shadow, players must fight challenging bosses at every step. Some of them are mandatory, while others are optional. But the main thing is that each of these battles requires weapons, and some of the most potent weapons can be found in the Mausoleums. Therefore, locating the hidden mausoleums is necessary.
You’ll Need These – Easily Find the Hidden Mausoleums in Elden Ring’s Shadow of the Erdtree
Elden Ring players are well aware of the Mausoleums, but if you have somehow forgotten about the concept, let me remind you that the base game had different types of Mausoleums, and the Walking ones used to be the most popular among them.
However, the hidden mausoleums that you are looking for in Shadow of the Erdtree are different. These buildings don’t move, they are like other structures. Anyway, exploring every mausoleum requires you to fight a mini-boss. Shadow of the Erdtree has four hidden mausoleums, and we have discussed their locations below:
Western Hidden Mausoleum

Though players will find a hidden Mausoleum in every direction of the map, the western one is the easiest to locate. The moment you step into the DLC, the very first region you will unlock is Gravesite Plains. From the first Site of Grace, start moving toward the northwest side, and eventually, you will land on the Scorched Ruins.
SUGGESTED: Bosses Be Gone: How to Defeat Putrescent Knight in Elden Ring’s Shadow of the Erdtree
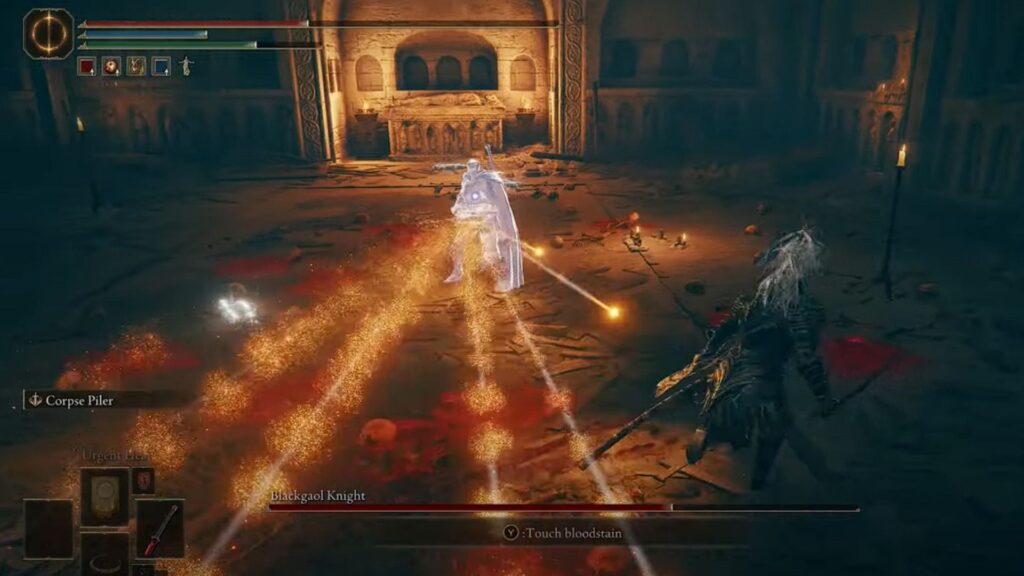
Once you have located the ruins, start moving toward the west side, and you will reach the first Nameless Mausoleum. This process has a twist, and players need to remove the Blackgaol Knight first. As a mini-boss, this enemy is a little tougher than the regular enemies with his greatsword and crossbow. Initially, his agility may confuse you, but don’t worry; he takes a lot of damage when you hit him.
Defeating this enemy won’t only open your way to reaching the first Mausoleum, but you will also get the Greatsword of Solitude and the entire Solitude Armor set.
Eastern Hidden Mausoleum

Among the four Mausoleums, probably the Mausoleum that will be found on the eastern side will be the trickiest one to locate. As the name suggests, it is located in one of the toughest locations in the game, on the east side of the world.
To start locating this, players first need to make their way to one of the creepiest parts of the DLC, Abyssal Woods. There, you will locate a secret location named the Recluses River. Follow this river up to the point where you will locate the Recluses River Downstream Site of Grace.
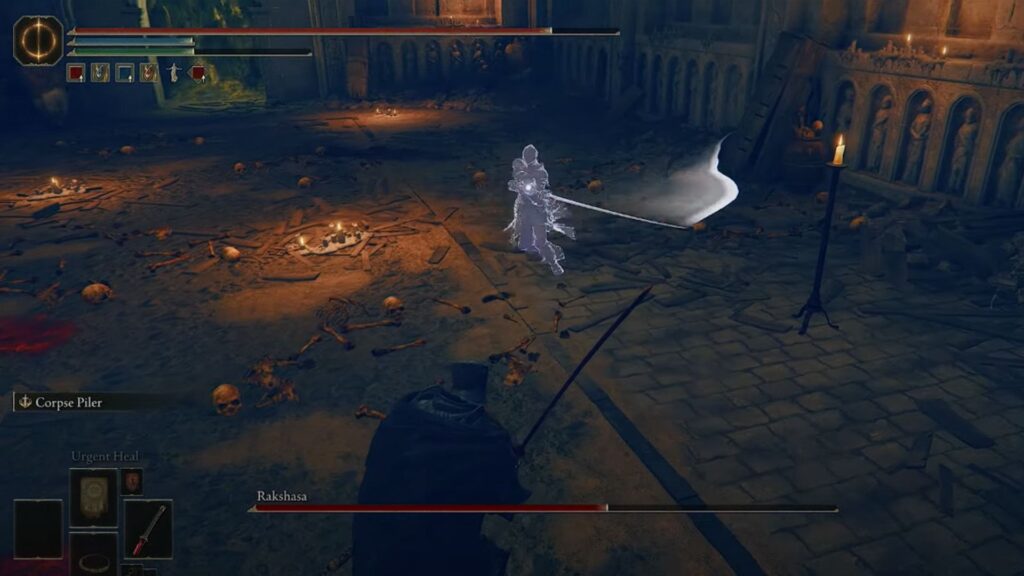
Once you have gotten past the location of Manflies, use the ledges to go down to make your way to a cavern. The Mausoleum should be there, but first, you need to beat Rakshasa. This enemy is also a bit tricky to take down because it causes deadly bleeding damage with his katana. It has an incredible range of attacks.
However, once defeated, players will receive Rakshasa’s Great Katana and his full armor set as rewards and make their way into the depths of the Mausoleum.
Southern Hidden Mausoleum

The third Nameless Mausoleum can be found in the extreme south section of the map. To begin your journey, players need to make their way to the Cerulean Coast region. From the island, you have to start moving toward the southwest side until you spot another island in front. Go forward, and you’ll spot a big tree, and from there, a path will take you down.
SUGGESTED: Bosses Be Gone: How to Defeat Furnace Golems in Elden Ring’s Shadow of the Erdtree
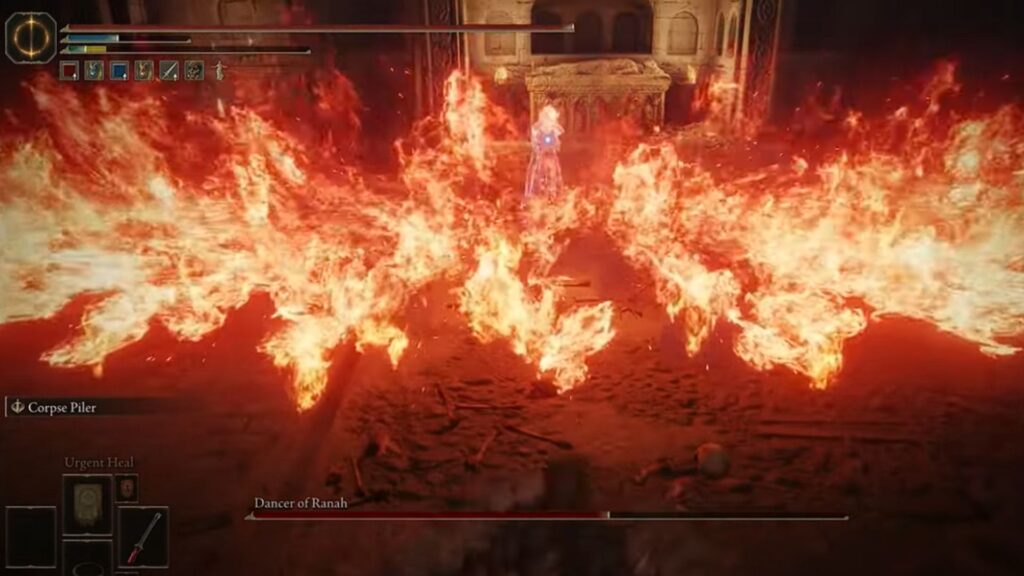
Once you spot a hole, make your way inside and keep progressing toward the west to locate the Hidden Mausoleum. However, before accessing the Mausoleum, players need to fight the Dancer of Ranah. This fight won’t be tough if you are aware of the enemy’s attacks. The mini-boss wields the Dancing Blade of Ranah, which is able to launch quick attacks. Stagger this enemy to deal damage to her.
After you have defeated the enemy, you will get her blade and her armor set as rewards and start your exploration inside the Mausoleum.
Northern Hidden Mausoleum

As the name suggests, the Northern Hidden Mausoleum will be found at the north end of the map. So, first, make your way to the Rauh Base. If you have visited this location previously, the way is familiar, but for those who haven’t yet come here, start following the main road, and eventually, you will spot a spiritspring at the base of the mountain, which can’t be accessed immediately.
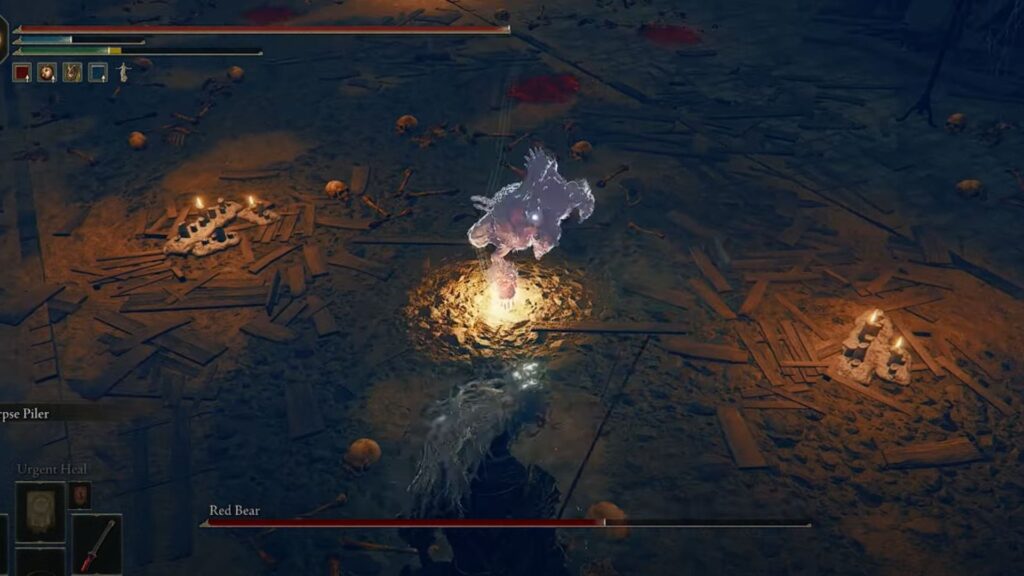
Attack the stones there to unseal the spiritspring. Now use these spiritsprings to reach the top platform. From that platform, the Mausoleum will be clearly visible. The boss you need to fight here is the Red Bear. Though this fight is pretty easy compared to the other three, the boss still has powerful melee attacks that can cause bleed damage. However, defeating this boss will reward players with Red Bear’s Claw and Iron Rivet full armor set.
That’s everything players need to know about how to locate Hidden Mausoleums in Shadow of the Erdtree. These are not easy searches, and they take some time. As you progress, you will eventually locate them, and there’s no way to speed up this process without a thorough exploration.
As you progress further, you will often struggle to locate powerful weapons like the Star-Lined Sword or beat enemies like Metyr, Mother of Fingers. A little help can resolve all your issues regarding these topics. Our guides give you a detailed walkthrough to reduce your suffering. Additionally, you can check out our guides on Shadow of the Erdtree, for any relevant information you need about the DLC to make your journey smoother.


